Winterberry Soap Saver
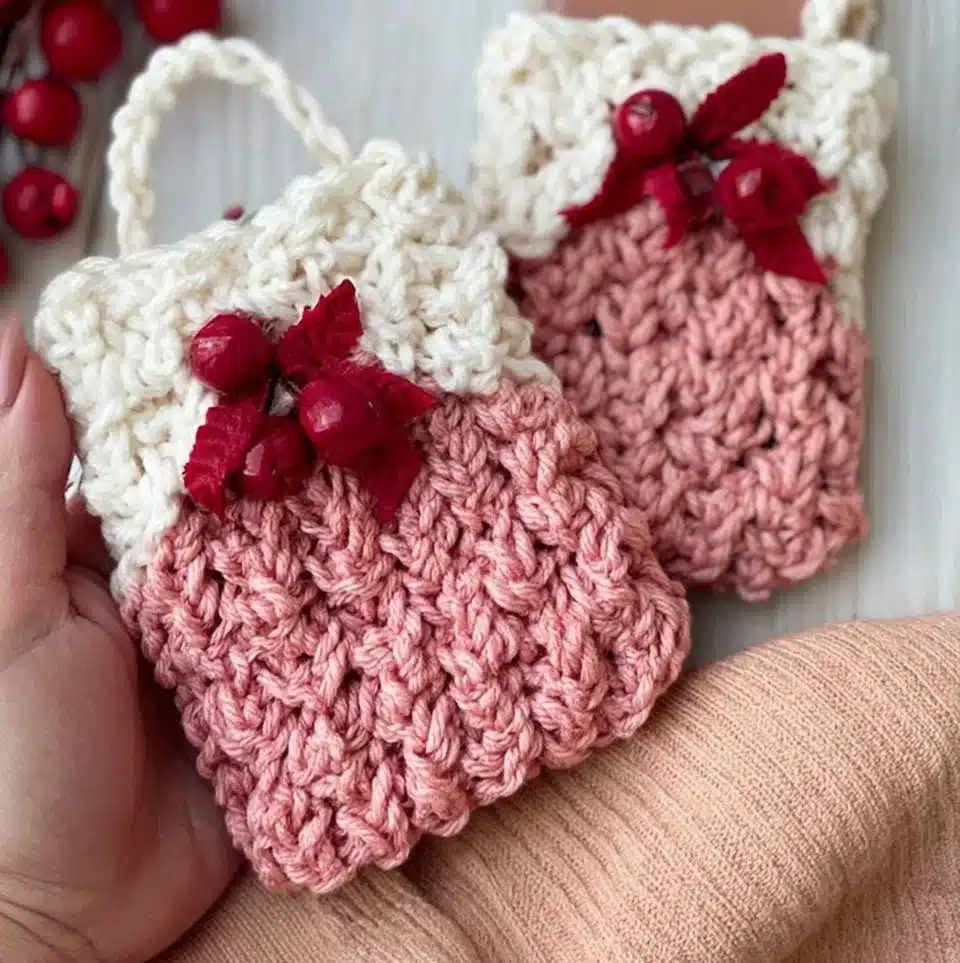
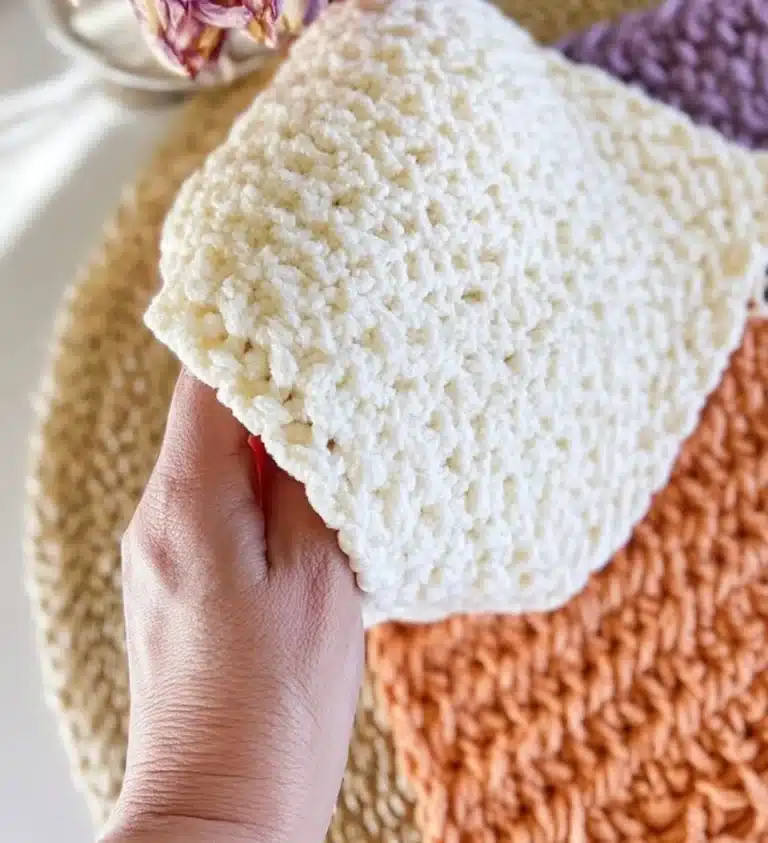
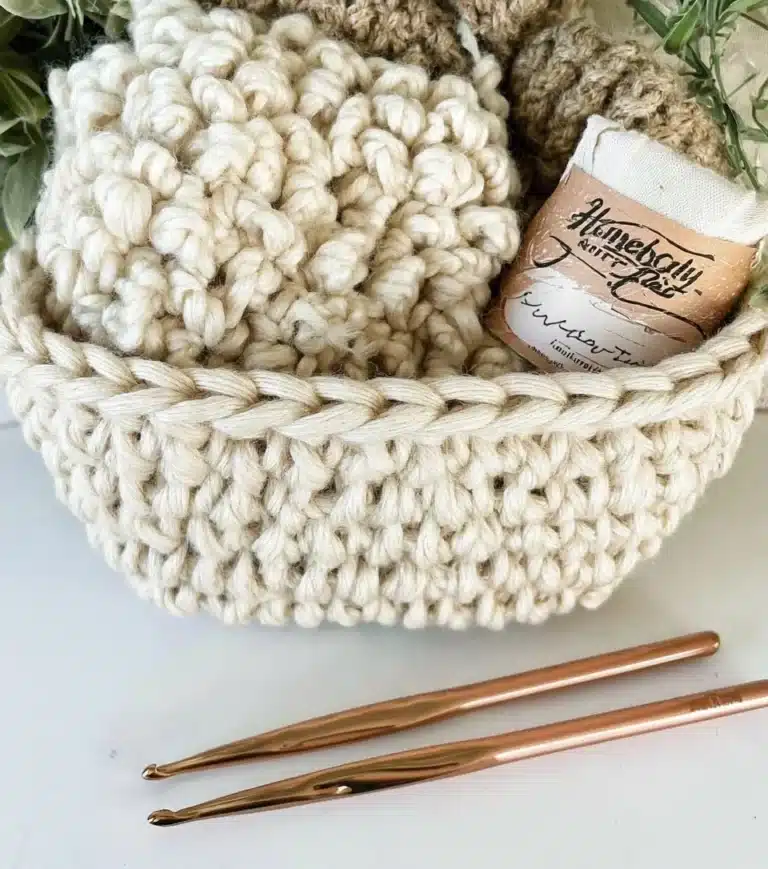
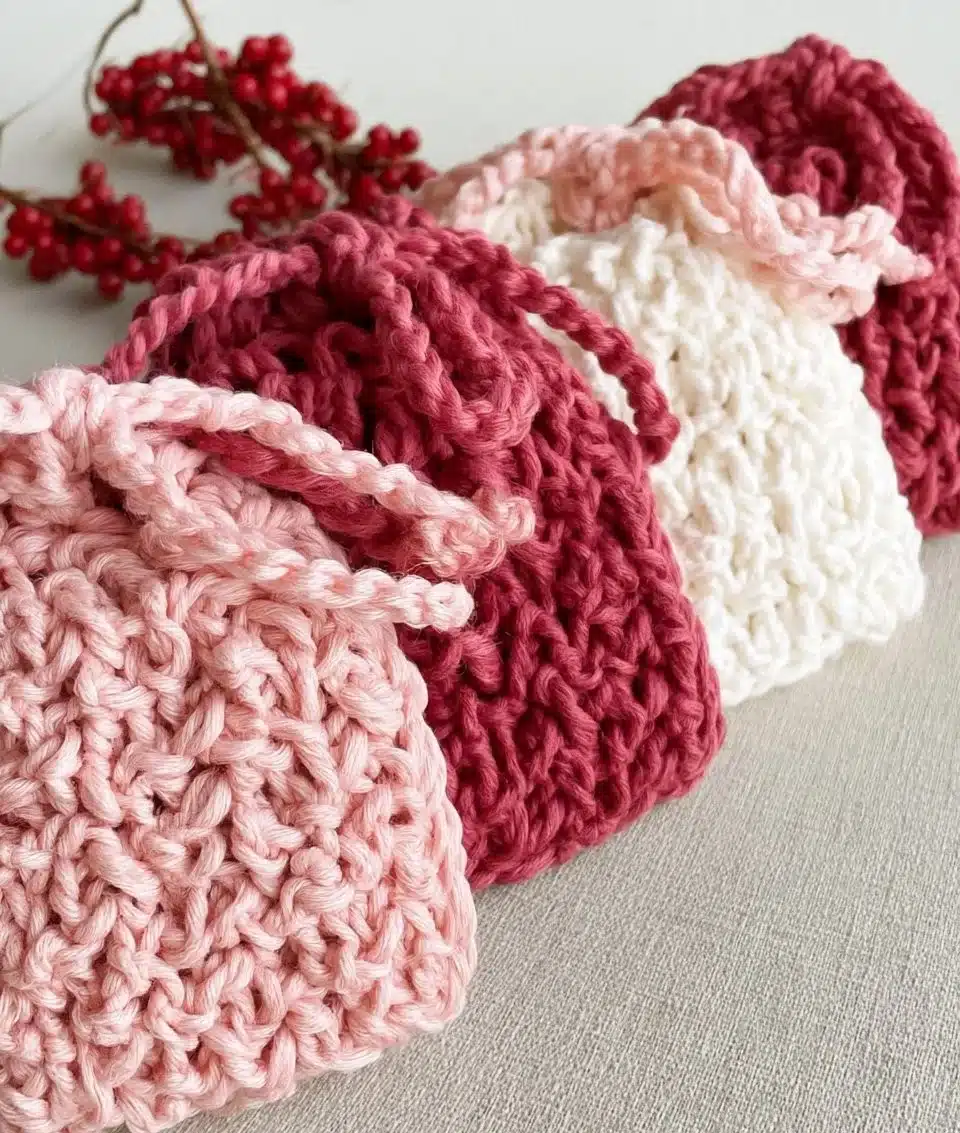
The Winterberry Soap Saver Crochet Pattern is a delightful twist on a classic staple every crocheter should have in their collection. Unlike standard soap savers, this nuanced version incorporates the Winterberry stitch, bringing an extra layer of texture and charm that makes it both functional and visually appealing. Whether you’re a seasoned crocheter or a curious beginner, this free pattern guides you through every stitch with warmth and accessibility, ensuring that creating your very own soap saver is an enjoyable journey.
Crocheting has an uncanny ability to soothe the soul and engage the hands, and with the Winterberry Soap Saver Crochet Pattern, you’ll find that every loop and stitch weaves a story of creativity and practicality. This guide will walk you step-by-step through crafting this charming soap saver, a project even first-timers can tackle with confidence and excitement.
Why Winterberry Feels Different
The Winterberry stitch introduces a captivating texture that elevates the typical feel of crochet fabric. This technique results in a soft yet durable pouch that cradles your soap while adding an intriguing visual element.
What makes this variation worth trying:
- Uniqueness: The distinctive stitch pattern sets it apart from typical soap savers.
- Texture: The fabric offers a luxurious feel, making each wash enjoyable.
- Functionality: The stitch pattern ensures adequate soap drainage while preserving its shape.
- Aesthetic Appeal: The beautiful design enhances your bathroom decor and makes for a wonderful gift.
What You’ll Need: Materials Table
Before diving into your crochet project, gathering your supplies is essential for a smooth crafting experience. Here’s what you will need:
| Item | Recommended Type | Approximate Amount |
|——————————–|———————–|——————–|
| Cotton blend yarn | Soft, absorbent yarn | 1 skein |
| Crochet hook | Size H (5 mm) | 1 |
| Standard scissors | Sharp and precise | 1 |
| Tapestry needle | Large eye for threading | 1 |
| Optional: Ribbon or cord | For drawstring closure | 1 piece |
Remember, if you’re looking to substitute materials, you can easily trade cotton for another blend. Just keep in mind the differences in texture and absorbency!
Sizing Guide
For the Winterberry Soap Saver, variations in size can cater to different preferences and soap dimensions. Ensure that the pouch is the right fit for what you’ll be placing inside. Here’s a simple guide for reference:
| Size | Height Measurement |
|———–|———————|
| Small | 5 inches |
| Medium | 6 inches |
| Large | 7 inches |
It’s helpful to crochet a gauge swatch before starting to ensure your soap saver matches your desired size.
Step-by-Step: How to Crochet the Winterberry Soap Saver Crochet Pattern
Step 1: Start the Foundation
- Chain 20 using the Winterberry stitch to set your foundation.
- Join the last chain to the first with a slip stitch to form a ring.
- Chain 2 to begin the first round.
Step 2: Crochet the Core Technique Section
- Work 10 double crochets (dc) into the ring, distributing them evenly.
- Join with a slip stitch to the top of the chain two to close the round.
- Chain 2 for the next round.
Step 3: Crochet the Shaping Section
- Continue to crochet in rounds until you reach the desired pouch height (approximately 5”-7”).
- Check your progress by placing your soap in the pouch to ensure a snug fit.
- Adjust the height if needed to accommodate your soap size.
Step 4: Add the Finishing Touches
- Chain 40 for the drawstring material, adjusting the length based on your preference.
- Thread the drawstring through the top of the pouch, creating a gentle cinch.
- Secure the ends of the drawstring and tuck them inside the pouch.
- Fasten off your crochet and cut the yarn, leaving a few inches for weaving.
- Weave in any loose ends using a tapestry needle for a clean finish.
- Optional: Embellish your soap saver with beads or decorative stitches.
Tips for Clean, Even Crochet
- Maintain consistent tension throughout your stitches for a uniform finish.
- Utilize a stitch marker to keep track of your rounds.
- Practice a swatch before starting to ensure your gauge matches the desired size.
- Keep stitches aligned to prevent uneven edges.
Common Mistakes to Avoid
- Skipping the initial chain join — this will result in an uneven base.
- Working too loosely — may cause holes that compromise the pouch’s structure.
- Failing to count stitches in each round — leads to a misshaped finished product.
- Not checking the size regularly — might create a pouch that’s too small or too large for your soap.
Frequently Asked Questions
What is the Winterberry stitch?
The Winterberry stitch is a textured crochet technique that gives fabric a unique visual appeal and feel, enhancing the overall design of your soap saver.
Can I use a different type of yarn?
Absolutely! While I recommend a cotton blend for its absorbency, you can experiment with other fibers like wool or acrylic; just keep tension and softness in mind.
Is it more challenging than a standard soap saver?
The Winterberry Soap Saver Crochet Pattern is approachable even for beginners. The additional stitch pattern adds character without significantly increasing the difficulty.
How much yarn do I need?
You will need approximately one skein of cotton blend yarn for this project, which provides enough material for the entire soap saver and drawstring.
Can this technique be applied to other patterns?
Yes! The Winterberry stitch can be adapted into various crochet projects, adding flair to bags, dishcloths, and more.
Conclusion
The Winterberry Soap Saver Crochet Pattern is a beautiful way to elevate a household essential into a handcrafted treasure. With its unique texture and practical design, this soap saver not only showcases your crochet skills but also serves a purpose in your daily life.
I encourage you to embark on this delightful project, and don’t forget to share your finished pieces with the community! Your creations inspire others, and I’m excited to see what you make.