Star Stitch Bear Hat
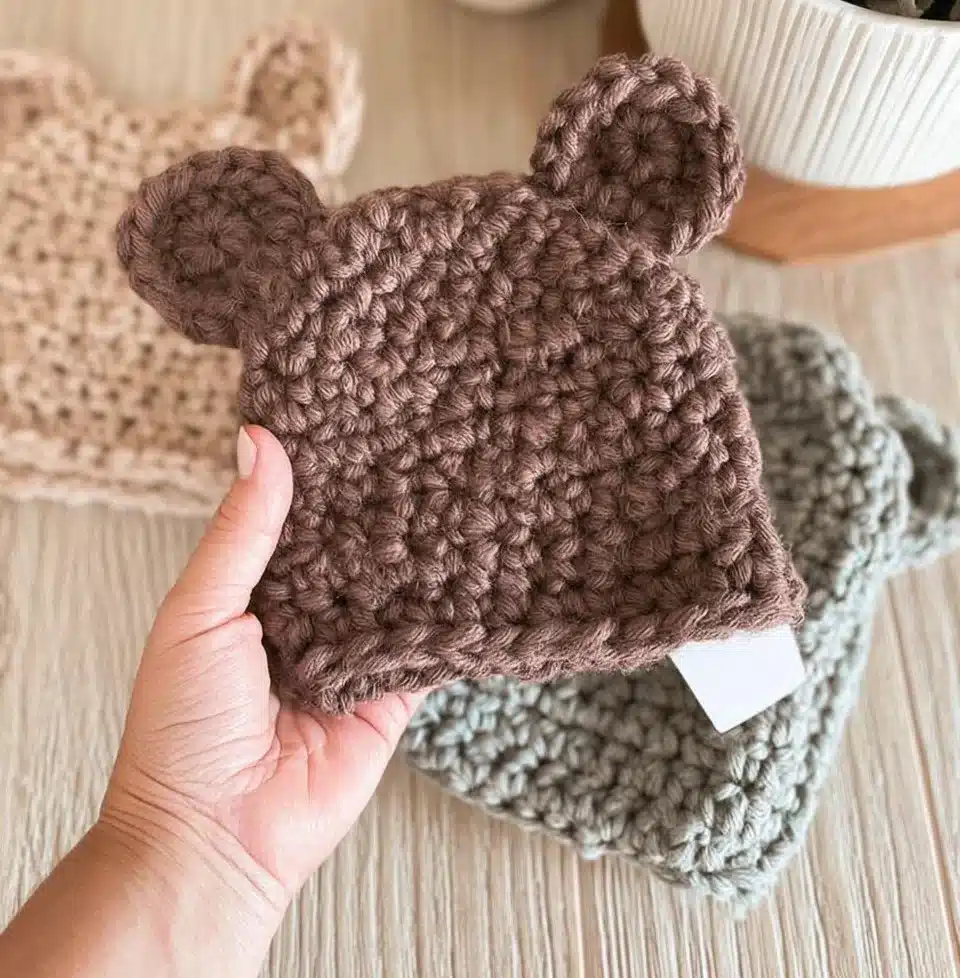
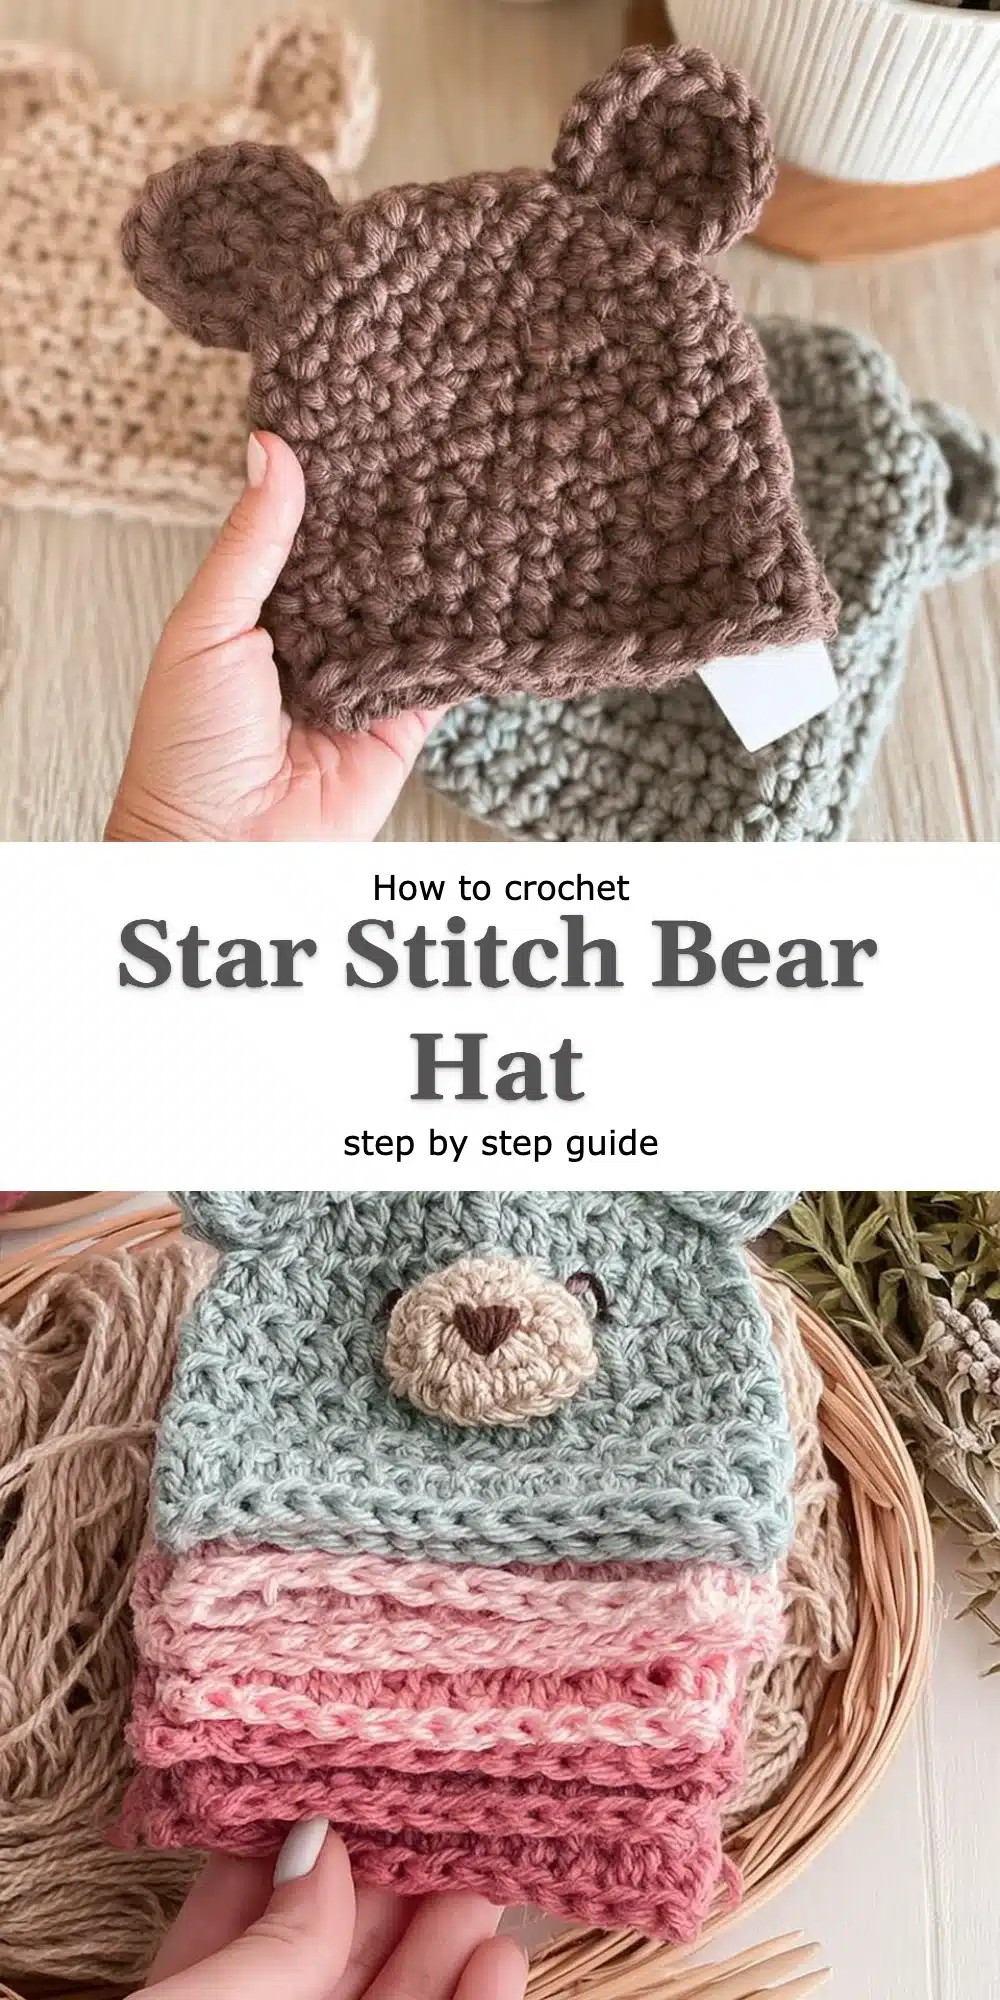
Creating a special piece like the Star Stitch Baby Bear Hat is one of the most delightful experiences in crocheting. It’s not just a hat; it’s a lovingly crafted item that wraps baby heads in warmth and softness. The unique star stitch technique gives it a textured elegance, setting it apart from standard hats that often lack flair. This free pattern is thoughtfully designed for crafters of all skill levels, so even if you’re new to crocheting, you can easily follow along and create this charming piece.
As I twist the yarn around my fingers and feel the comforting weight of the worsted weight yarn, I can already imagine the joy this hat will bring. This Star Stitch Baby Bear Hat pattern invites you to explore and enjoy the process of crafting something beautiful, and I’ll walk you through each step to make it approachable and fun.
Why This Variation Feels Different
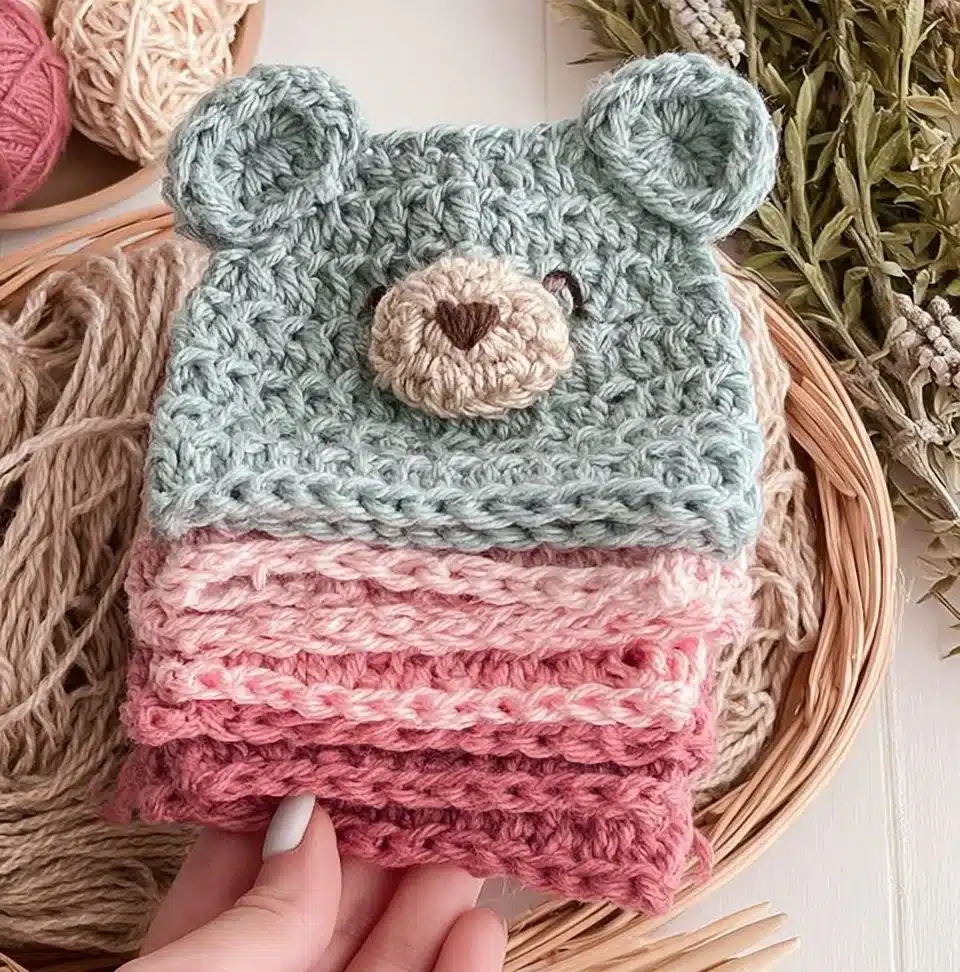
The star stitch is a lovely technique that feels luxurious in your hands and looks stunning on the finished hat. Unlike traditional single or double crochets, the star stitch adds lovely texture and a hint of playful whimsy, reminiscent of blooming flowers scattered across the fabric. It transforms an ordinary crochet hat into a statement piece.
What makes this variation worth trying:
- Unique Texture: The star stitch creates a delightful, dimensional effect.
- Versatile Design: Perfect for customizing colors and sizes for any baby or toddler.
- Quick to Make: With a few rounds, you’ll notice progress, keeping motivation high.
- Meaningful Gift: A handcrafted hat feels extra special as a unique gift for a new parent.
What You’ll Need: Materials Table
Before diving into creation, gather your supplies to ensure a smooth crafting experience.
| Item | Recommended Type | Approximate Amount |
|———————–|———————–|———————|
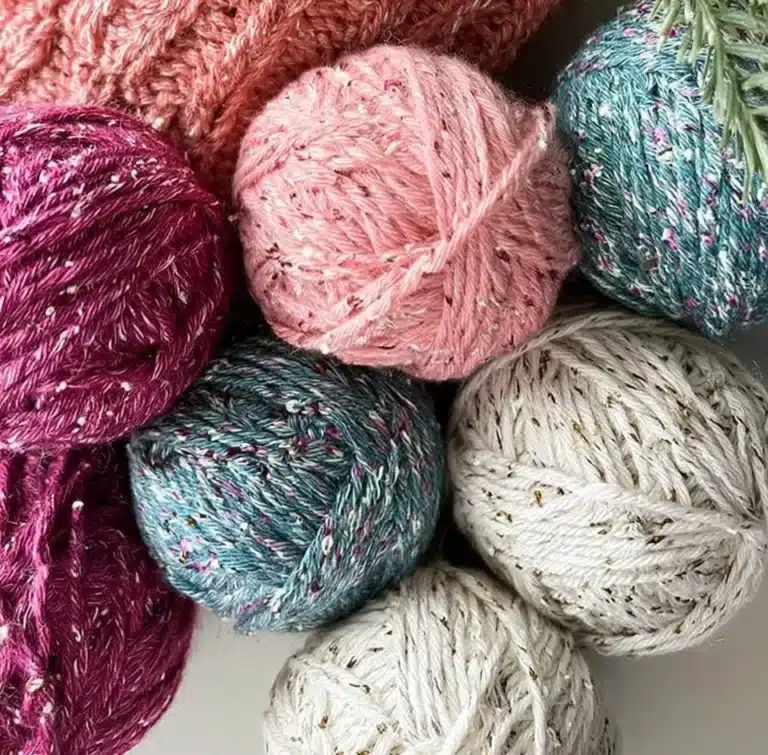
| Worsted weight yarn | Soft acrylic or wool | 100-150 yards |
| Crochet Hook | Size H, 5.0 mm | 1 |
| Yarn Needle | Tapestry Needle | 1 |
| Scissors | Sharp | 1 |
Feel free to use wool yarn for warmth or an acrylic blend for ease of washing—it’s all about personal preference!
Sizing Guide
If you plan to make this hat for different age ranges or sizes, it’s vital to keep measurements in mind. Here’s a quick size guide to help you adjust accordingly.
| Size/Age Range | Circumference (inches) | Height (inches) |
|—————–|————————-|——————|
| Newborn | 13-14 | 6 |
| 0-3 Months | 14-15 | 7 |
| 3-6 Months | 15-16 | 8 |
| 6-12 Months | 16-18 | 9 |
For best results, I recommend making a quick gauge swatch to ensure your stitches line up perfectly with the size you’re targeting.
Step-by-Step: How to Crochet the Star Stitch Baby Bear Hat
Step 1: Start the Foundation
- Chain 4 and join with a slip stitch to form a ring.
- Chain 1 to start the first round.
- Work 8 single crochets (sc) into the ring.
- Join with a slip stitch to the first sc to complete the round.
- Chain 1 to start the next round.
Step 2: Crochet the Core Technique Section
- Insert hook into the next stitch, yarn over, and pull up a loop (2 loops on hook).
- Insert hook into the same stitch again, yarn over, and pull up a loop (3 loops total).
- Insert hook into the next stitch, yarn over, and pull up a loop (4 loops on the hook).
- Yarn over and pull through all 4 loops to form the star stitch.
- Repeat the star stitch into each stitch of the round.
- Join with a slip stitch at the end of each round.
- Continue this pattern until the body of the hat reaches the desired length.
Step 3: Crochet the Shaping/Assembly Section
- Chain 2 (this counts as the first double crochet).
- Yarn over, work a front post double crochet (fpdc) around the first stitch.
- Yarn over, work a back post double crochet (bpdc) around the next stitch.
- Repeat this pattern for the desired band length, usually about 2-3 inches.
- Join and fasten off securely.
Step 4: Add the Finishing Touches
- Chain 4 and join with a slip stitch to form a ring.
- Work 6 single crochets (sc) into the ring.
- Join with a slip stitch.
- Fasten off, leaving a long tail for sewing.
- Sew the ears onto the top of the hat.
- Weave in any remaining ends with your yarn needle and trim excess.
Tips for Clean, Even Star Stitches
- Maintain Consistent Tension: This ensures each star stitch looks uniform.
- Track Your Stitches: It’s easy to lose count when repeating the star stitch; a counter can help.
- Practice on a Swatch: To get comfortable with the star stitch technique, make a mini swatch first.
- Keep Stitches Aligned: Ensure your stitches are evenly spaced for a polished finish.
Common Mistakes to Avoid
- Over-tightening the yarn — causes stiff fabric that’s hard to wear.
- Skipping stitches while counting — leads to uneven spaces and errors.
- Using too many different colors — can make the pattern feel chaotic instead of coherent.
- Forgetting to chain before starting a new round — results in a wobbly edge.
Frequently Asked Questions
What is a star stitch?
The star stitch is a unique crochet technique that forms a star-like shape, creating a textured fabric.
Can I use any yarn for this hat?
Yes, while worsted weight is recommended, you can use other weight yarns; just adjust your hook size accordingly.
Is this pattern hard compared to a standard hat?
No! The star stitch may seem tricky at first, but once you get the hang of it, it becomes easy and enjoyable.
How much yarn do I need for this hat?
I recommend using 100-150 yards of worsted weight yarn for a cozy fit.
Can I use the star stitch for other patterns?
Absolutely! The star stitch can be added to any project to enhance its beauty and texture.
Conclusion
The Star Stitch Baby Bear Hat is a truly special project that reflects warmth, creativity, and love. The unique texture of the star stitch provides a charming twist that can’t be found in standard hats. I encourage you to start crafting your own today and feel the joy of making something beautiful.
Once you’ve completed your hat, don’t forget to share your finished piece with the community. Your creation can inspire others on their crochet journey!