Crossbody Bag
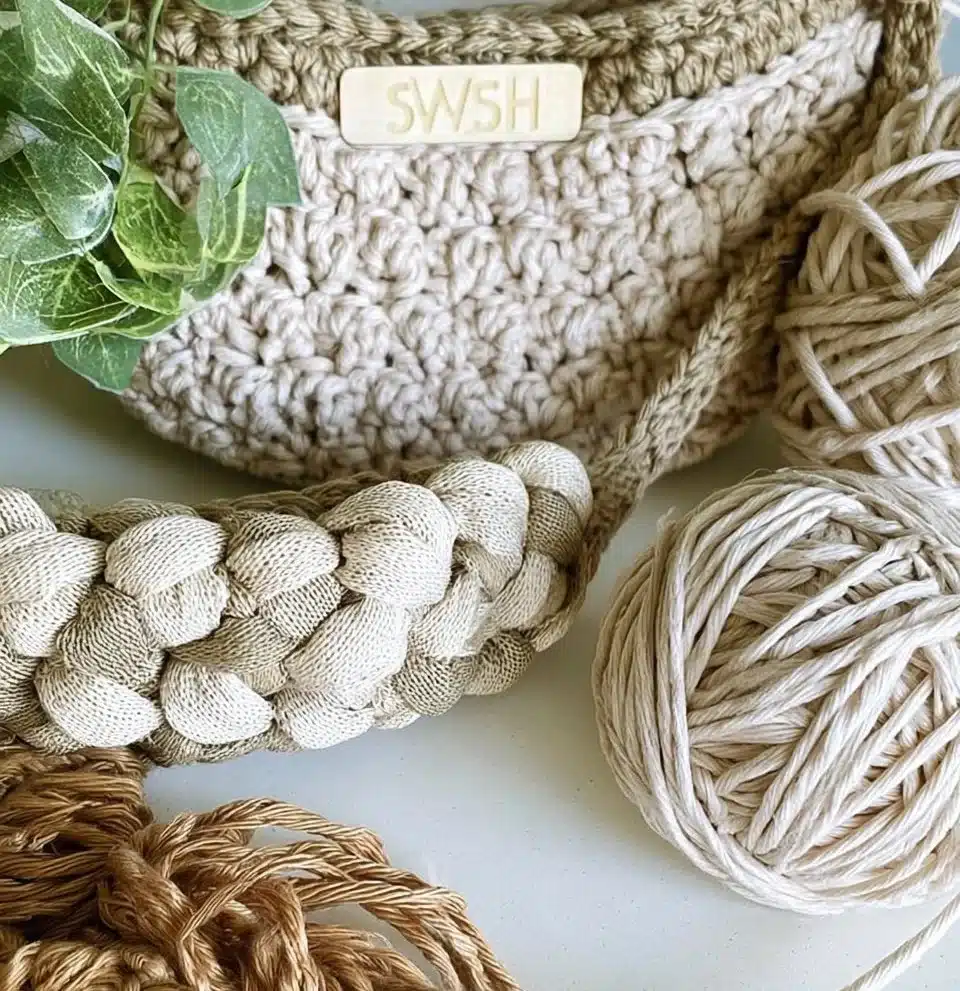
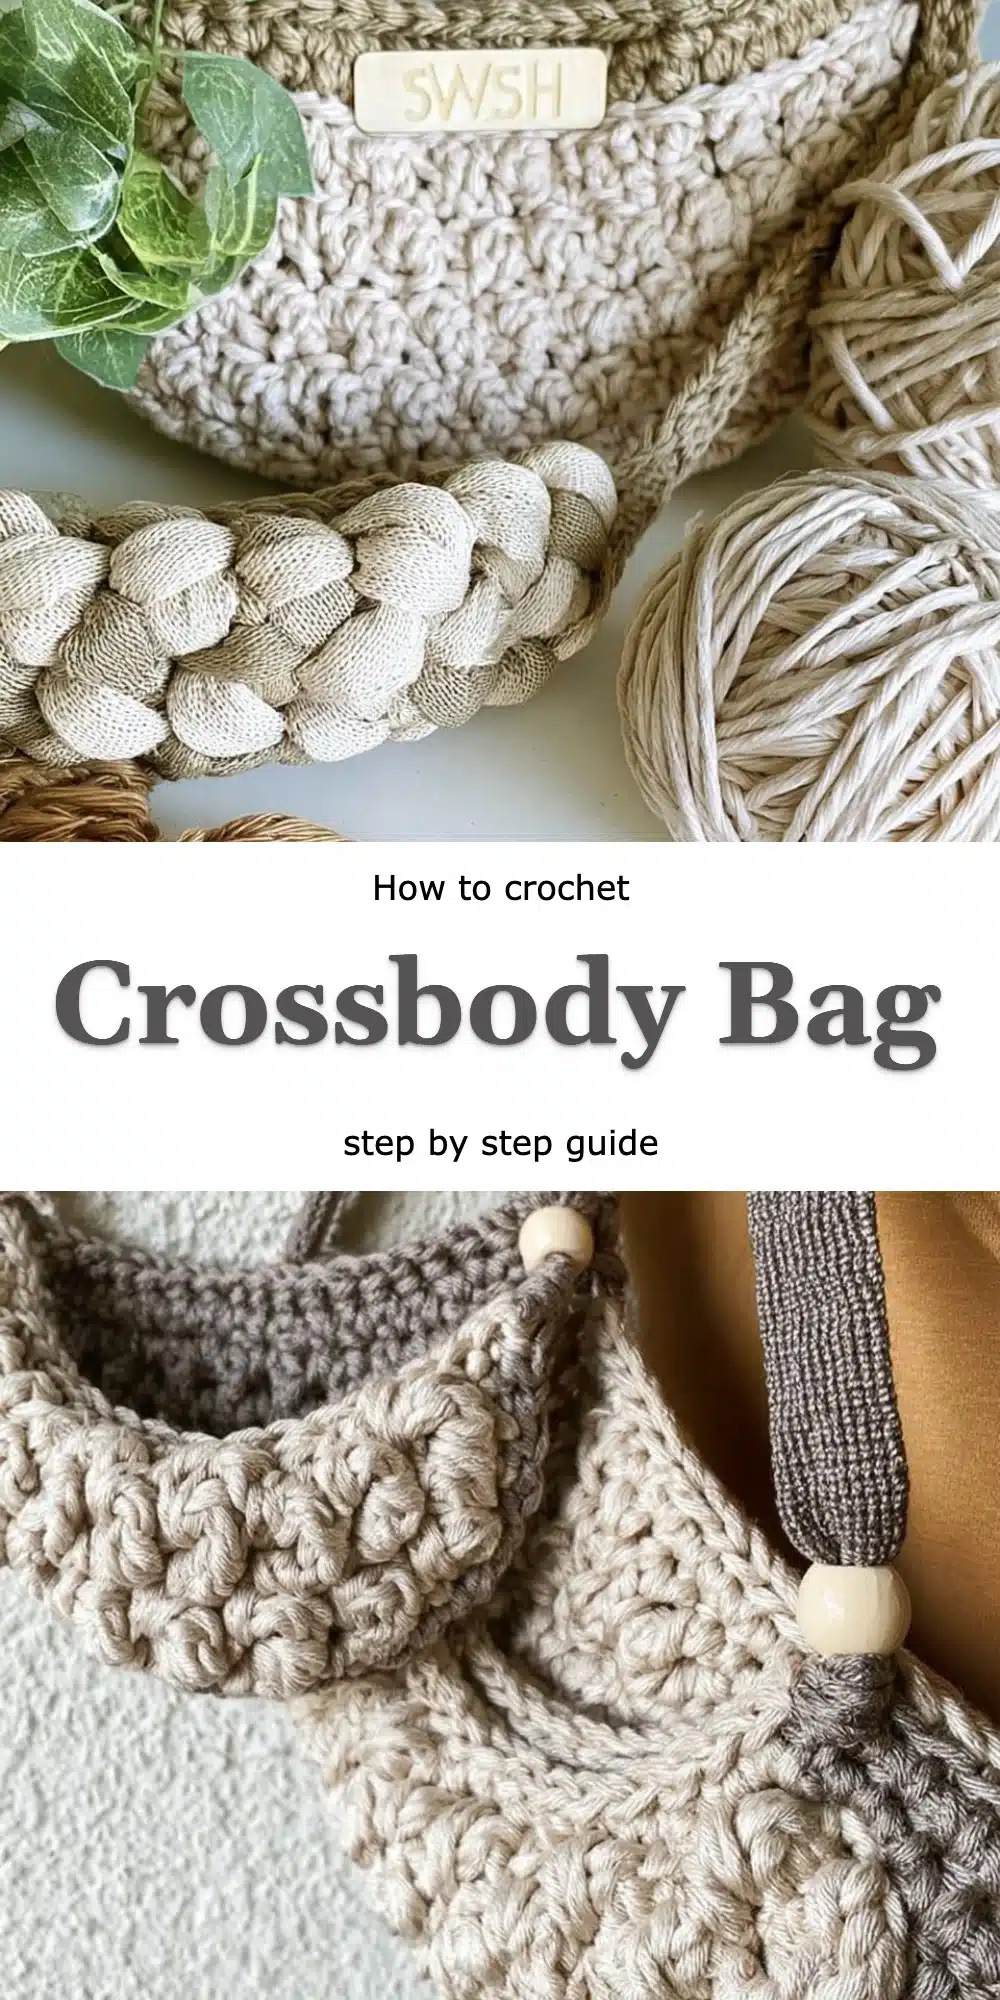
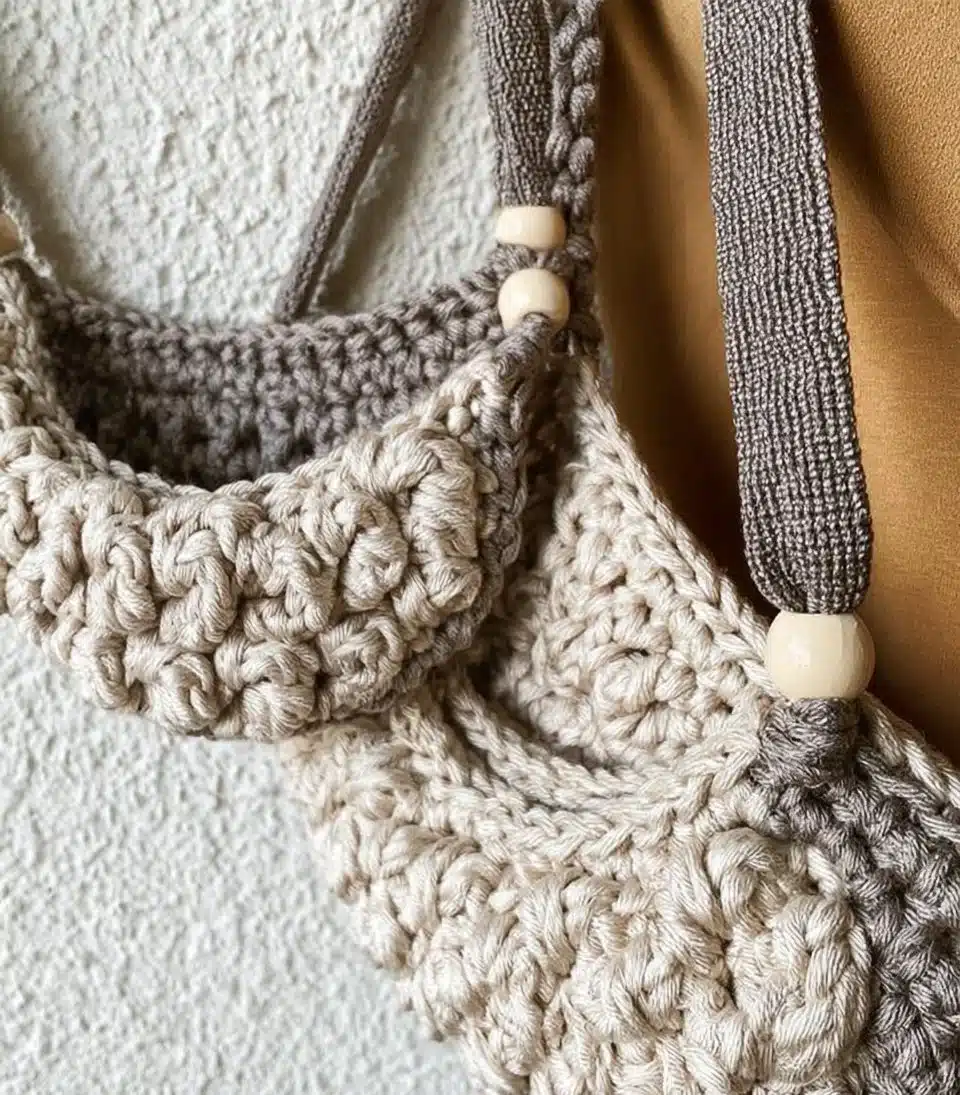
Creating a Crochet Crossbody Bag is a delightful journey into the world of crochet, inviting both seasoned crafters and curious beginners alike to explore their creative side. Unlike standard bags, which may lack personality and flair, this crossbody design is infused with a unique charm. The way the stitches interlock creates a beautiful texture that exudes warmth and character, making it a perfect accessory for any outfit.
In this free crochet pattern, you’ll find a step-by-step guide that makes Creating a Crochet Crossbody Bag approachable for newcomers to this craft. With simple techniques and a little patience, you’ll create a piece that’s not only practical but also a true work of art that reflects your individual style.
Why This Variation Feels Different
The twist in this crochet crossbody bag design lies in the combination of half double crochet stitches and the unique shaping that emerges as it develops. This creates a sturdy yet flexible fabric that holds its shape beautifully, offering both functionality and style.
What makes this variation worth trying:
- Unique Texture: The alternating stitches give the bag a rich, textured finish.
- Versatile Use: Perfect for casual outings or as a chic accessory for evenings out.
- Personal Touch: Customize with colors and patterns that speak to your style.
- Beginner-Friendly: Easy techniques ensure confidence for newcomers while still engaging for experienced crocheters.
What You’ll Need: Materials Table
Before diving into the crafting process, gather your supplies. Having everything at hand will make your experience more enjoyable.
| Item | Recommended Type | Approximate Amount |
|—————————|———————————-|——————–|
| Yarn | Cotton or Acrylic | 300-400 yards |
| Crochet Hook | Size H/8, 5mm | 1 |
| Scissors | Any sharp fabric scissors | 1 |
| Stitch Marker | Locking or standard | 1 |
| Tapestry Needle | Large-eyed for yarn sewing | 1 |
Don’t hesitate to experiment with different yarn types, such as substituting with wool for added warmth, but keep in mind that it may alter the bag’s structure and texture.
Sizing Guide
As this design mainly follows a set pattern, sizing isn’t explicitly varied. However, feel free to adjust the height based on personal preference by adding or reducing rounds.
General Measurement Tips:
- Keep in mind that swatching your tension can help you achieve the desired bag size.
- A tighter tension will yield a smaller bag, while a looser tension will result in a more spacious one.
Step-by-Step: How to Crochet the Creating a Crochet Crossbody Bag
Now let’s jump into the delightful process of crafting your very own bag. Follow these detailed steps to bring your idea to life.
Step 1: Start the Foundation
- Chain 32 stitches to create your foundation row.
- Join this chain with a slip stitch to form a loop.
- Chain 2 to begin your first round.
Step 2: Crochet the Main Body
- Work 1 half double crochet (hdc) in each chain around the loop.
- Join your last stitch with a slip stitch to the top of the chain, 2.
- Chain 1 to prepare for the next round.
Step 3: Crochet the Stitch Pattern
- Work 2 hdc in the first stitch (this is your increase).
- Alternate between 1 hdc and 2 hdc across the round.
- Join again with a slip stitch to close the round.
Step 4: Add the Shaping
- Continue with your pattern until the bag reaches your desired height (approximately 10-12 rounds).
- Fasten off your yarn and weave in the ends securely.
Step 5: Attach the Strap
- Cut a length of yarn approximately 60 inches long for the strap.
- Fold the strap in half.
- Attach it to both sides of the bag using a slip stitch.
- Secure all ends and ensure the strap is sturdy.
Tips for Clean, Even Crocheting
- Keep your tension consistent: This will help you achieve an even fabric without gaps.
- Track your stitches: Use a stitch marker to ensure you know where rounds begin and end.
- Practice with a swatch: Making a few extra rows in your yarn can help you get comfortable with the pattern.
- Stay aligned: Pay attention when joining rounds to keep your stitches from leaning.
Common Mistakes to Avoid
- Inconsistent tension — this causes uneven stitches.
- Not counting stitches — forgetfulness can lead to an incorrect number of stitches and uneven shapes.
- Failing to check gauge — skipping the gauge swatch may yield unexpected sizes.
- Neglecting to secure ends — loose ends can unravel, affecting durability.
Frequently Asked Questions
What defines the crochet crossbody bag technique?
It combines half double crochet stitches with a simple shaping technique, producing a textured yet sturdy bag.
What yarn/material works best?
Cotton and acrylic yarns balance durability and softness, making them ideal choices for a bag.
Is this crochet pattern suitable for beginners?
Yes! Its simple stitches and clear instructions make it an excellent choice for those new to crochet.
How much yarn do I need?
You’ll need approximately 300-400 yards, depending on the overall design and size you choose.
Can I use this technique for other patterns?
Absolutely! The foundational techniques can be adapted for various projects, allowing creativity to flourish.
Conclusion
Creating a Crochet Crossbody Bag is a fulfilling experience that not only enhances your skills but also results in a vibrant, personal accessory. Whether you’re crafting for yourself or giving it as a gift, the joy of making is what truly matters.
I encourage you to grab your yarn and hook, start your journey, and, once you’re done, share your beautiful creation with our crochet community! Happy crocheting!