Honey Weave Placemat
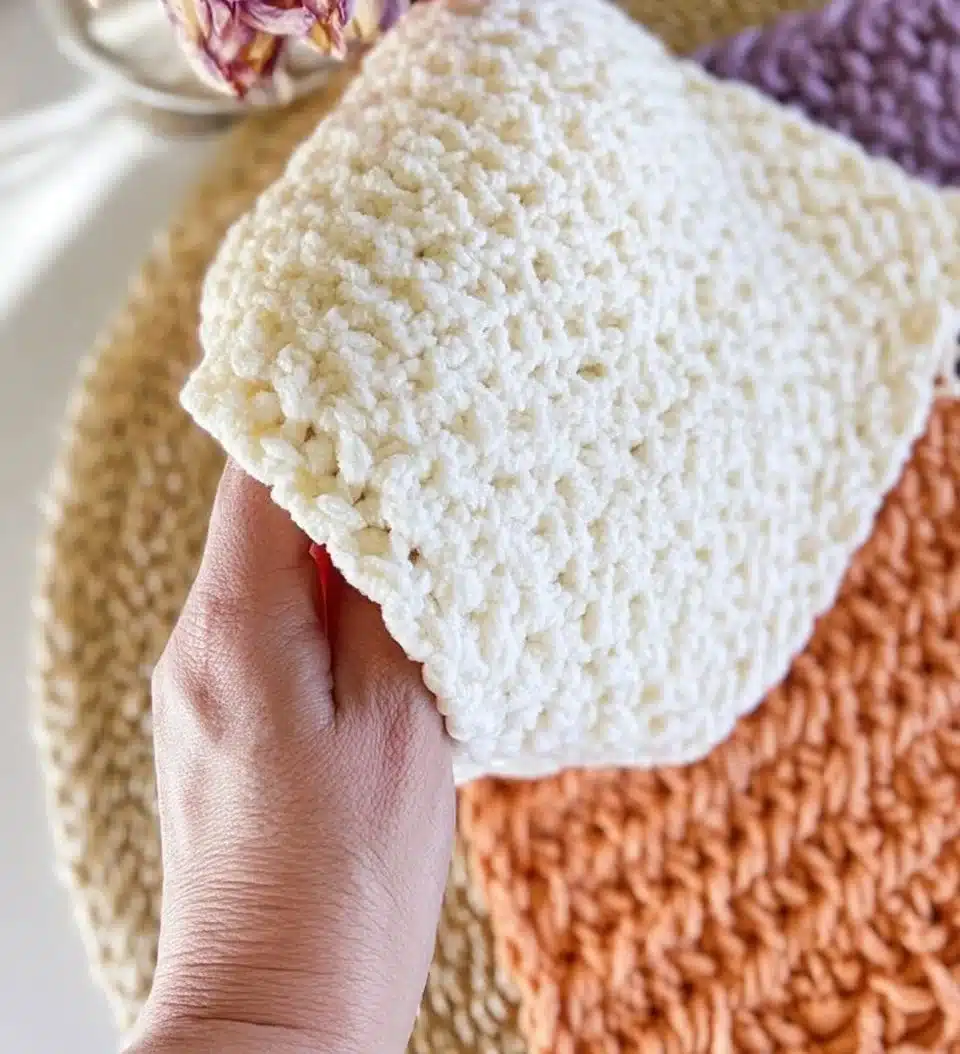
As I sat down to crochet a new placemat, I felt a little spark of excitement. The delicate bend of my crochet hook and the soft texture of my yarn reminded me of the joy this craft brings. Today, I’m creating a Honey Weave Placemat, an elegant piece that elevates the everyday dining experience. Unlike your standard placemat, the Honey Weave design introduces a charming texture that catches the light beautifully, making it a centerpiece at any table setting.
In this free pattern, I’ll guide you step-by-step through the creation of this placemat. Whether you’re a seasoned crocheter or a first-timer, I promise that the Honey Weave Placemat is an approachable yet rewarding project.
Why Honey Weave Feels Different
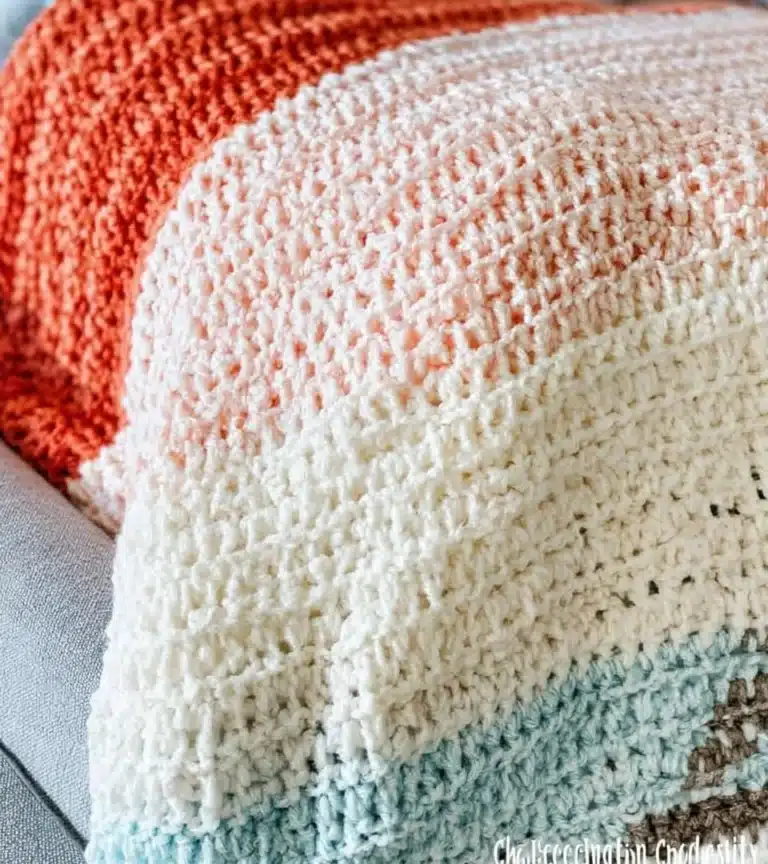
The Honey Weave technique creates a unique fabric characterized by its raised patterns, adding depth and visual interest. This twist not only enhances the overall look but also gives the fabric a soft, cushy feel that’s pleasant beneath plates and utensils.
What makes this variation worth trying:
- Instantly transforms your dining table décor.
- Adds a tactile element that guests will appreciate.
- Versatile in color and design to match any home.
- Simple enough for beginners yet gratifying for experienced crocheters.
What You’ll Need: Materials Table
Before diving into the stitches, gather your supplies for the Honey Weave Placemat. Here’s what you’ll need:
| Item | Recommended Type | Approximate Amount |
|———————————|—————————–|——————–|
| Soft Cotton Blend Yarn (4 weight)| Cotton blend, soft to touch | 2 skeins |
| Crochet Hook | Size H, 5.0 mm | 1 |
| Sharp, fabric scissors | Good quality | 1 |
| Large-eye tapestry needle | For weaving in ends | 1 |
If you’re exploring alternatives, feel free to substitute with wool or acrylic yarn depending on your preference for texture and durability.
Sizing Guide
If you want to customize the size of your Honey Weave Placemat, here’s a helpful sizing guide to get you started:
| Size | Length | Width |
|————|—————|————-|
| Small | 12 inches | 18 inches |
| Medium | 14 inches | 20 inches |
| Large | 16 inches | 24 inches |
To ensure your placement comes out perfectly sized, remember to check your gauge. Creating a swatch before starting will save you time and frustration!
Step-by-Step: How to Crochet the Honey Weave Placemat
Step 1: Start the Foundation
- Make a slip knot and place it on your hook.
- Chain a desired length for your placemat; I recommend starting with 40 chains for a medium size.
- Double crochet in the fourth chain from the hook.
- Continue to double crochet across the chain until the end.
Step 2: Crochet the Core Technique Section
- Turn your work.
- Chain 3 for the next row, which serves as your first double crochet stitch.
- Double crochet in each stitch across.
- Yarn over twice to introduce the crossover treble stitch.
- Skip the next stitch, then insert the hook in the stitch two rows below.
- Repeat this technique for a beautiful honeycomb effect.
Step 3: Crochet the Shaping Section
- Continue working rows until your placemat reaches the desired length.
- Finish with a row of double crochet at the end.
- Fasten off the last stitch to secure your work.
- Prepare for the shell stitch border.
Step 4: Add the Finishing Touches
- Join a new color yarn at any corner of the placemat.
- Chain 2 in the same stitch where you joined.
- Create a shell stitch (5 double crochets) in the same stitch.
- Continue this pattern across all edges of the placemat.
- Weave in loose ends with the tapestry needle for a clean finish.
Ensure you maintain even tension while crocheting. Using stitch markers is a great way to keep track of your stitches and gauge.

Tips for Clean, Even Crocheting
- Always maintain a consistent tension for uniformity.
- Use stitch markers to highlight the beginning of each round or row.
- Create a practice swatch to get comfortable with new techniques.
- Keep your stitches aligned neatly to avoid bunching.
Common Mistakes to Avoid
- Skipping stitches — leads to uneven edges.
- Applying too much tension — results in a stiff fabric.
- Forgetting to turn work — creates an unexpected shape.
- Not counting stitches — causes a misaligned pattern.
Frequently Asked Questions
What is the Honey Weave technique?
The Honey Weave technique combines double crochet and crossover treble stitches to create a textured pattern that resembles honeycomb.
What type of yarn is best for this project?
A soft cotton blend yarn is recommended for a comfortable, airy feel, but acrylic will also work fine for durability.
Is this technique harder than standard double crochet?
It’s a bit more advanced due to the crossover treble stitch but remains approachable for those willing to take their skills up a notch.
How much yarn do I need for the placemat?
Approximately two skeins of 4-weight yarn should suffice for a standard placemat size.
Can I use this Honey Weave technique for other patterns?
Absolutely! The technique is versatile and can be applied to various projects such as blankets, table runners, and more.
Conclusion
The Honey Weave Placemat is truly a feast for the eyes and hands. Its unique texture adds an inviting charm to your dining table while showcasing your crochet skills. I invite you to try this pattern and let your creativity flow. Share your finished piece with the crochet community, and let’s celebrate this beautiful craft together!