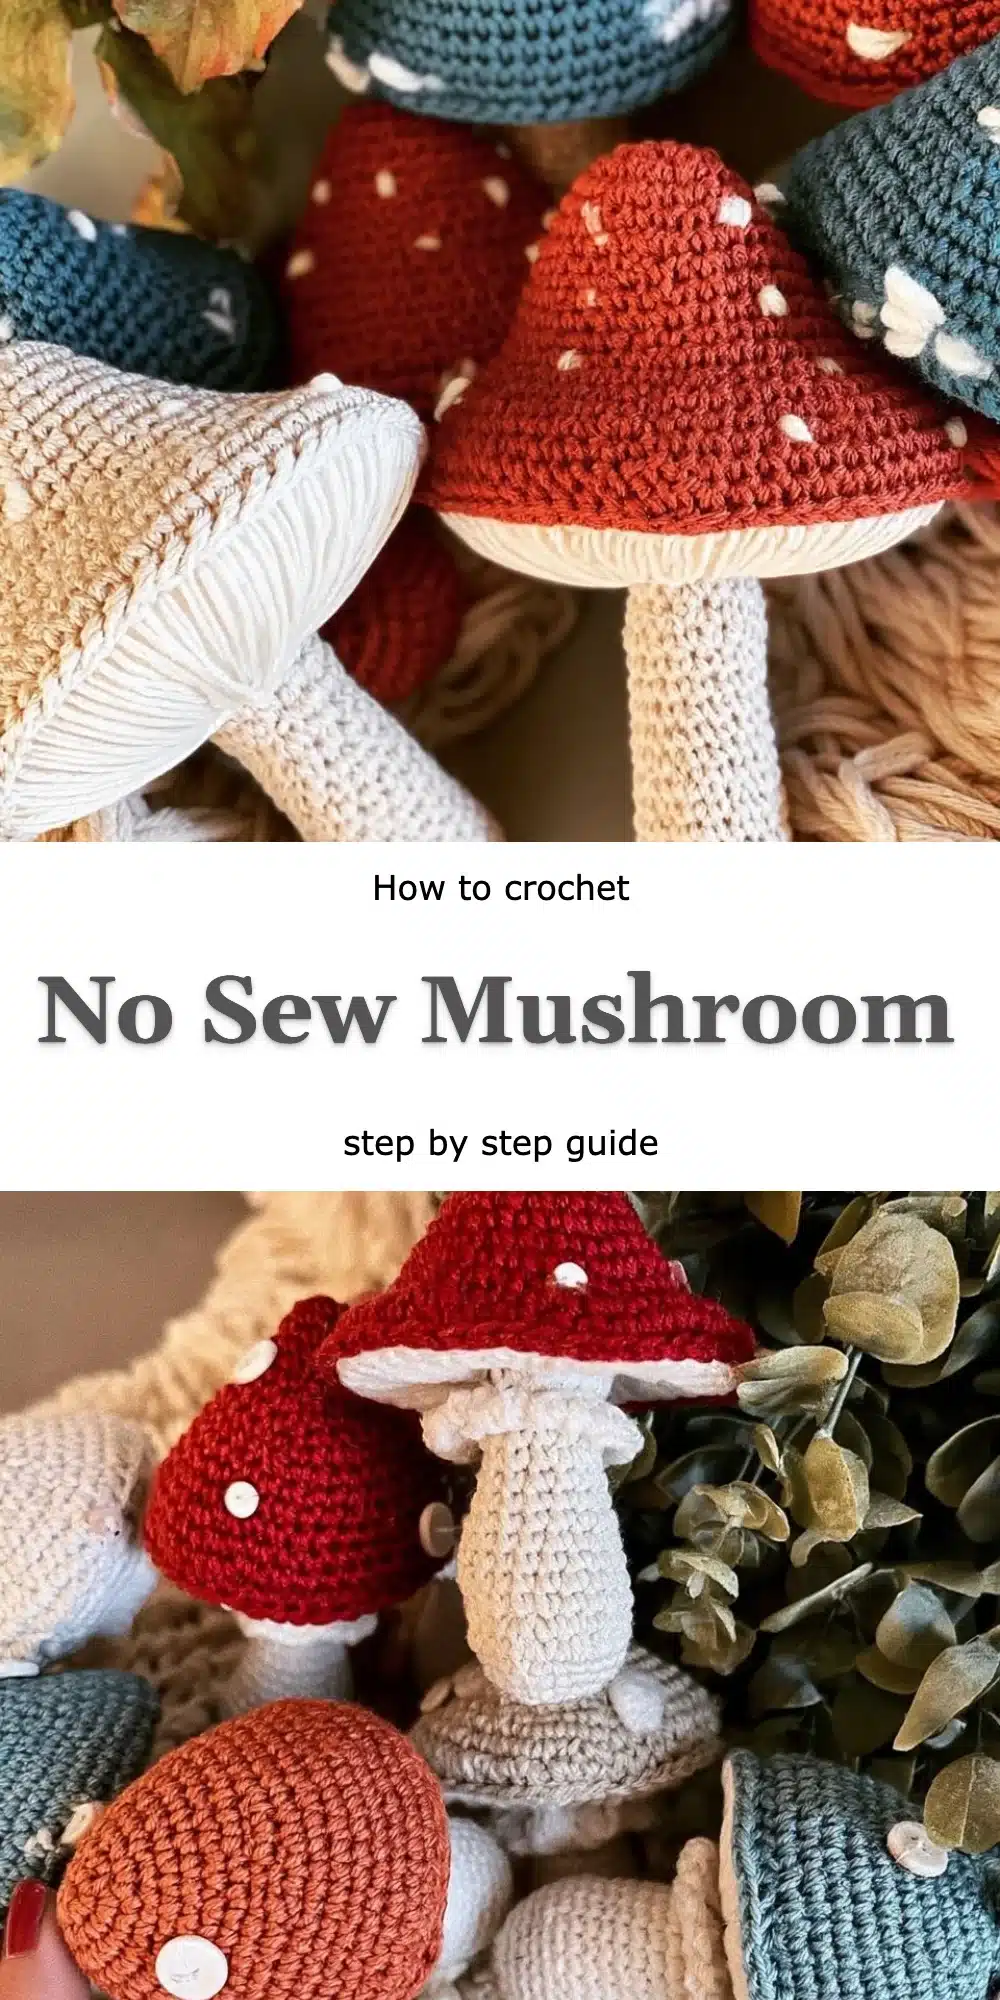
No Sew Mushroom
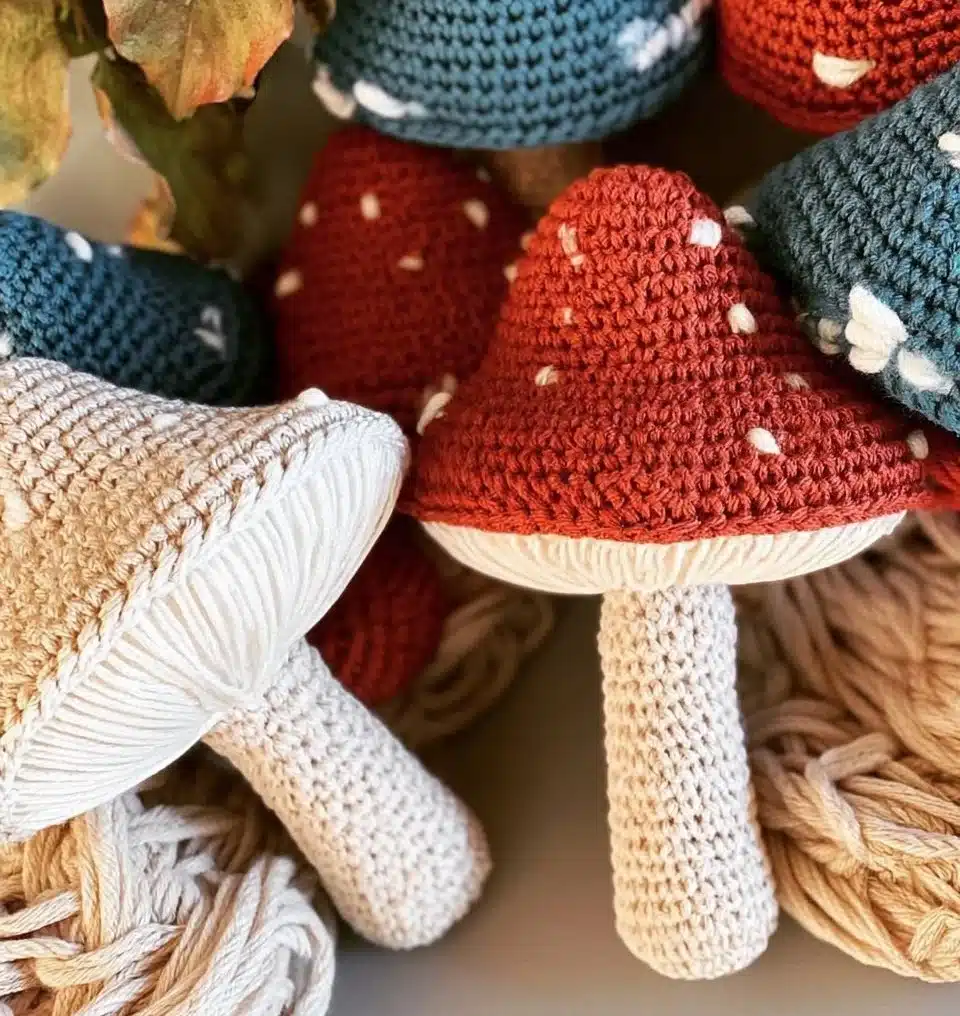
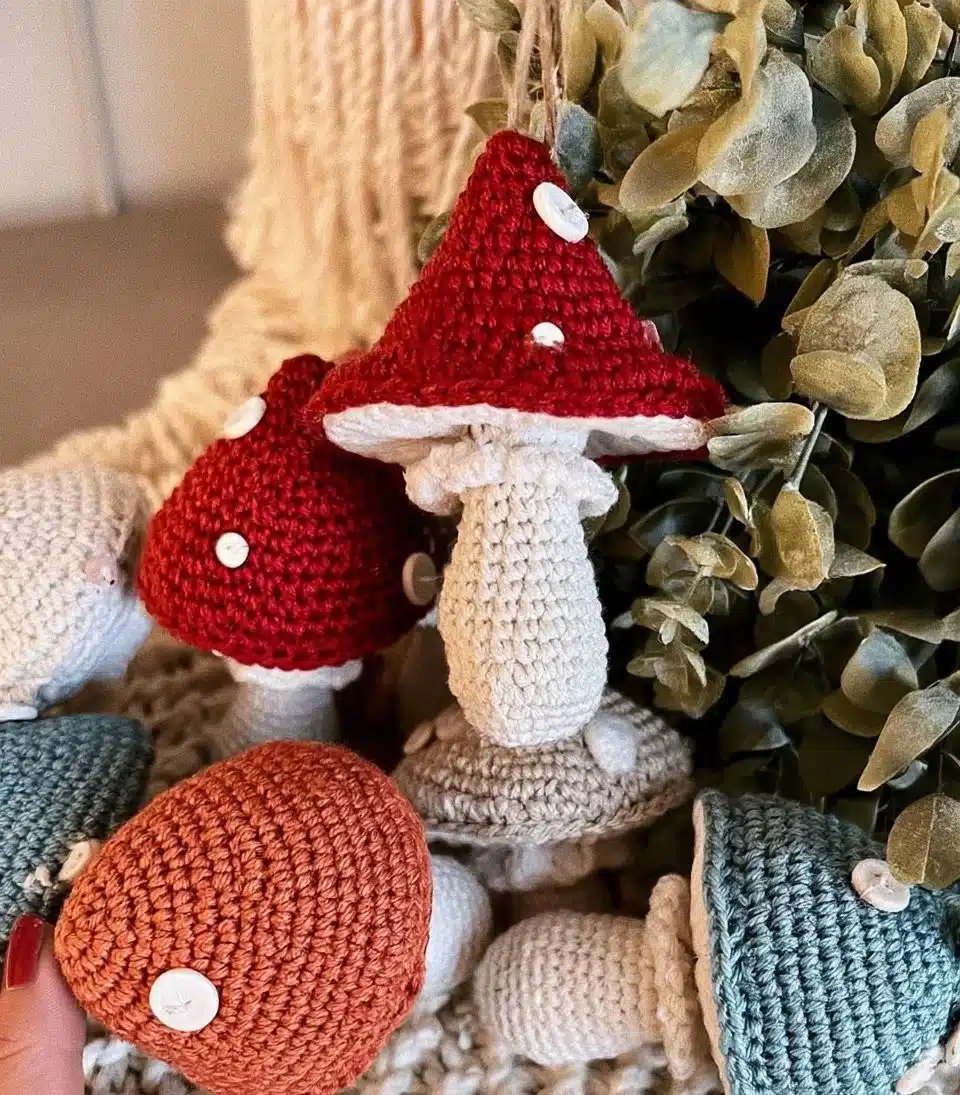
One of the most delightful aspects of crafting is the opportunity to create pieces that feel infused with warmth and personality. The No-Sew Rustic Farmhouse Mushroom Project captures this essence perfectly. These charming mushrooms bring a touch of whimsy and a hint of nostalgia to your home décor, making them a unique alternative to standard fabric mushrooms. Plus, being no-sew means they come together quickly, making this project ideal for both seasoned crocheters and first-timers alike.
In this free pattern, I’ll walk you through each step of the No-Sew Rustic Farmhouse Mushroom Project, ensuring even those new to crochet can find joy and satisfaction in creating something special. It’s not just about the final product; it’s a journey filled with creativity and the soothing rhythm of yarn and hook.
Why This Variation Feels Different
The No-Sew Rustic Farmhouse Mushroom Project sets itself apart through a combination of textured stitches and the unique appeal of bulky yarn. This approach creates a rich, sculptural quality that gives each mushroom a distinct presence compared to traditional crocheted or sewn versions.
What makes this variation worth trying:
- Speedy construction — No sewing means less time fussing and more time enjoying your creation.
- Versatile color combinations — Experiment with different yarn colors for a visually dynamic display.
- Easily customizable sizes — Adjust the pattern to create mushrooms of various sizes for a more playful arrangement.
- Eco-friendly option — Using 100% acrylic yarn allows for sustainable crafting without sacrificing style.
What You’ll Need: Materials Table
Before diving into this delightful project, gather the following materials to ensure a smooth crafting experience.
| Item | Recommended Type | Approximate Amount |
|————————–|——————————————-|———————|
| Titan Bulky yarn | 100% acrylic | 1 skein |
| Worsted weight yarn | 100% cotton or acrylic | 1 skein |
| Scissors | N/A | 1 pair |
Feel free to substitute different yarn types based on availability, such as wool for acrylic, while keeping in mind any adjustments needed for gauge.
Sizing Guide
While this project doesn’t strictly adhere to size variations, you can easily adjust the dimensions by altering your yarn choice and tension. Here’s a quick reference for custom sizes based on your yarn selection.
| Size | Approximate Diameter |
|————|———————-|
| Mini | 2-3 inches |
| Standard | 4-5 inches |
| Jumbo | 6-8 inches |
Remember to check your gauge while crocheting to ensure your mushrooms come out in the size you prefer.
Step-by-Step: How to Crochet the No-Sew Rustic Farmhouse Mushroom Project
Step 1: Start the Base
- Chain 4 and join with a slip stitch to form a ring.
- Work 8 single crochet (sc) into the ring.
- Join with a slip stitch to the first sc.
Step 2: Crochet the Core Technique Section
- Chain 1.
- Work 2 sc in each stitch around (16 sc).
- Join the round with a slip stitch.
- Chain 1, work 1 sc in the first stitch, then 2 sc in the next one, and repeat around (24 sc).
- Join with a slip stitch.
Step 3: Crochet the Shaping/Assembly Section
- Chain 1.
- Work 1 sc in the first two stitches, then 2 sc in the next one, and repeat (32 sc).
- Join with a slip stitch.
- Chain 1 and work 1 sc in each stitch around for the next 2 rounds.
- Finish off by cutting the yarn, leaving a long tail for securing.
Step 4: Add the Finishing Touches
- Switch to worsted weight yarn for mini mushrooms.
- Follow the same steps from this point, adjusting for a smaller size as desired.
- Consider using a different color for each mushroom to enhance visual interest.
- You’re done! Enjoy your unique creations scattered around your home or gifted to loved ones.
Tips for Clean, Even Crochet
- Maintain even tension throughout your stitches to ensure uniformity in your mushrooms.
- Count your stitches regularly to keep track of your progress accurately.
- Practice with a swatch before working on your piece to get a feel for the yarn’s behavior.
- Keep stitches aligned as you work to prevent twists and uneven shapes.
Common Mistakes to Avoid
- Skipping stitches — causes gaps that detract from your mushroom’s shape.
- Incorrectly joining rounds — leads to visible seams and less professional appearance.
- Inconsistent tension — creates an uneven texture that can affect the overall look.
- Not checking gauge — results in mushrooms that are either too small or too large.
Frequently Asked Questions
What is the No-Sew Rustic Farmhouse Mushroom Project?
It’s a crochet pattern designed to create charming, whimsical mushrooms without the need for sewing, making it perfect for beginners.
What type of yarn should I use?
You can use Titan Bulky yarn (100% acrylic) for the base and any worsted weight yarn (cotton or acrylic) for the mini mushrooms.
Is this variation more difficult than a standard version?
Not at all! This no-sew technique actually simplifies the process and is approachable for beginners.
How much yarn do I need?
Typically, one skein of each type of yarn will suffice for multiple mushrooms, depending on the size you choose to make.
Can I apply this technique to other patterns?
Yes! This method can be adapted for a variety of plush creations and stuffed shapes.
Conclusion
The No-Sew Rustic Farmhouse Mushroom Project is not just a beautiful, functional endeavor; it’s an experience that connects us to the joy of crafting. Each mushroom you create becomes a personal piece of art, adding a cozy touch to your space or making a heartfelt gift for someone special.
I encourage you to embrace this project, let your creativity flow, and share your finished pieces with our vibrant crochet community. Let’s celebrate the little joys we create together, one mushroom at a time!