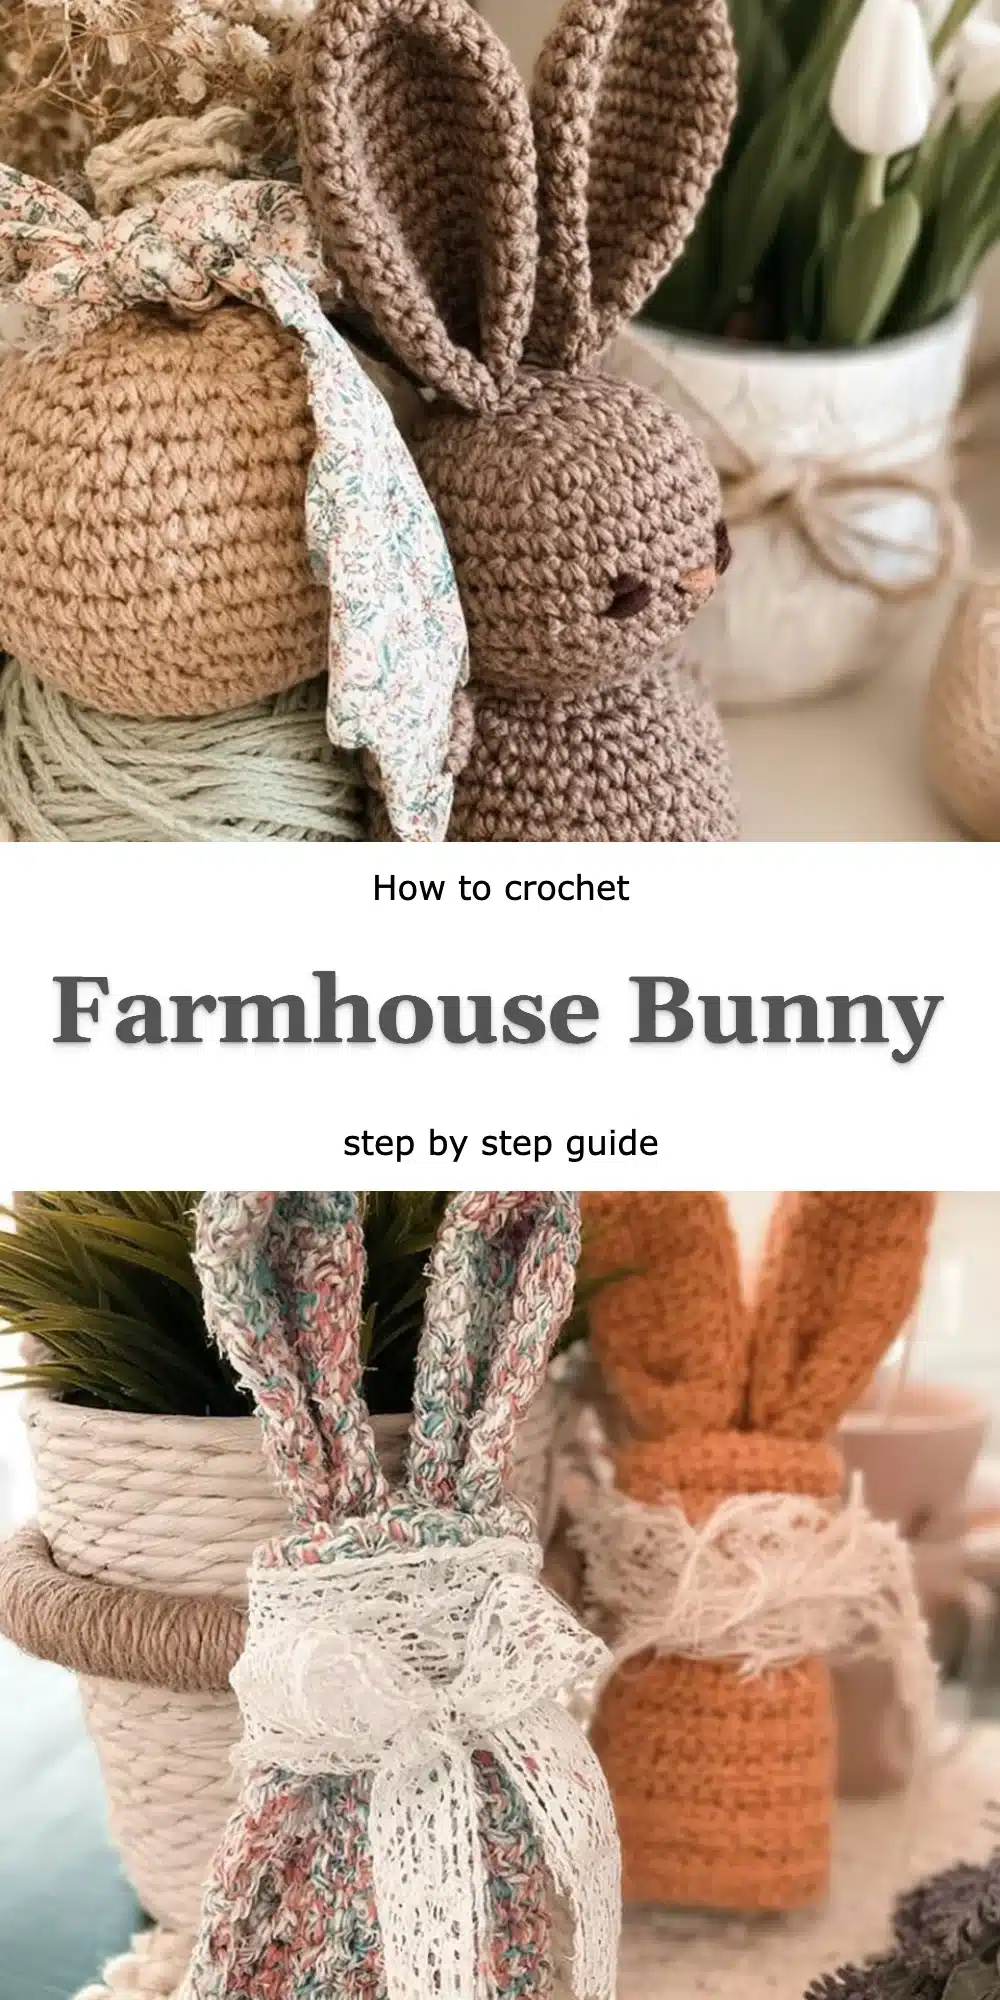
Farmhouse Bunny
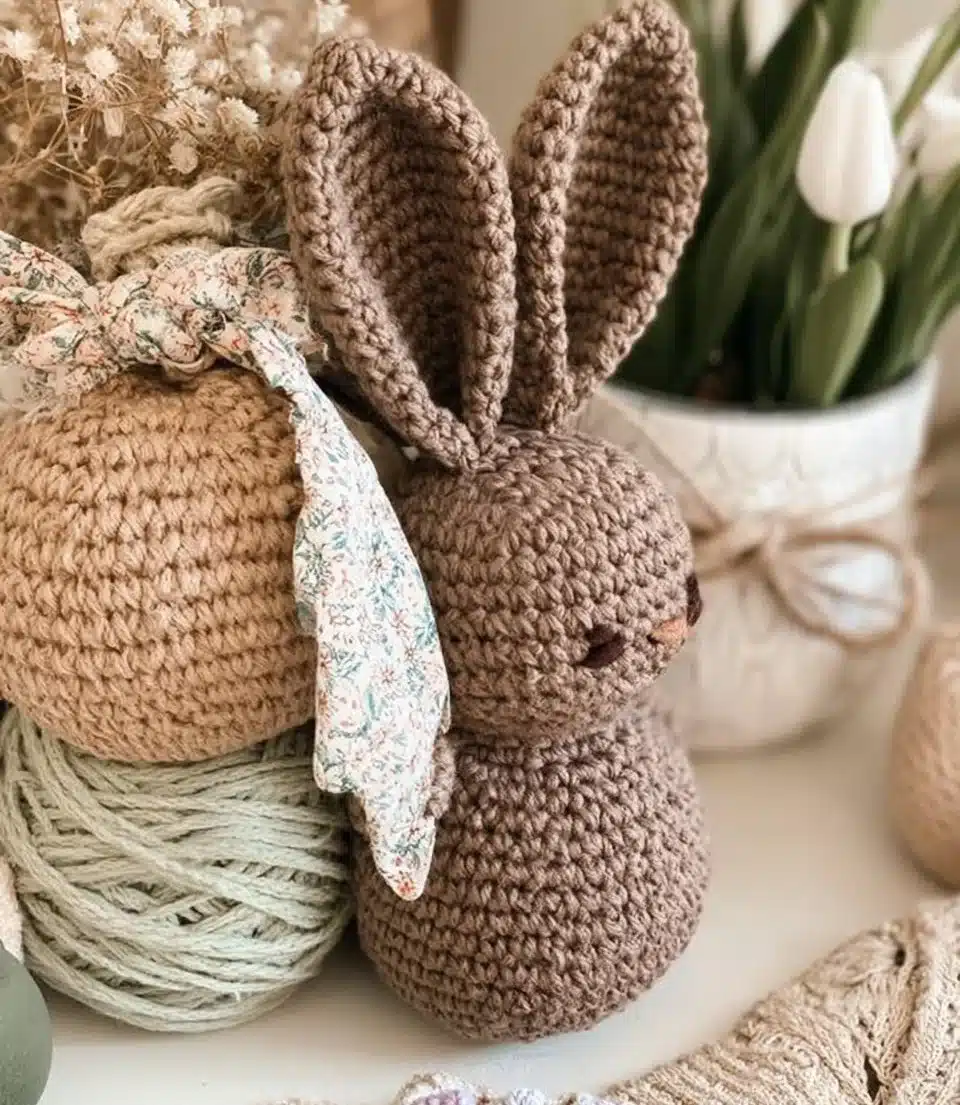
Crafting has a magical way of bringing joy and a sense of accomplishment. When it comes to creating delightful décor for your home, there’s something irresistibly charming about a hand-crafted bunny. The Creating a Rustic Farmhouse Bunny stands out not just for its emotive presence but for its handmade essence that breathes warmth into any space. This project melds simple crafting techniques with the natural beauty of wood, making it truly special.
What I love about this project is its accessibility—it breaks down the crafting process into manageable steps, making it perfect even for a first-timer. With just a few materials and some gentle guidance, you will create a rustic piece that evokes the comfort of country life, perfect for your mantel or coffee table.
Why This Craft Feels Different
Creating a Rustic Farmhouse Bunny offers a unique twist on the common wooden decoration. Instead of a flat and unembellished surface, this project enriches the appearance of the bunny with artistic flair through painting and fabric additions, giving it a lifelike character.
What makes this variation worth trying:
- Nostalgic charm: Infuses a touch of country warmth.
- Customizable: Choose colors and fabrics that resonate with your style.
- Tactile appeal: The combination of wood and soft textile creates unique textures.
- Simple joy: Invites even non-crafters to experience the satisfaction of handmade artistry.
What You’ll Need: Materials Table
Before diving into crafting, it’s essential to gather all your supplies. Below is a list of what you’ll need to create your rustic bunny:
| Item | Recommended Type | Approximate Amount | |———————————————-|———————————|——————–| | 1 board of Pine or Cedar | Select based on preference | 1 board | | 1 small bottle of Non-toxic Acrylic paint | Any shade you love | 1 bottle | | 1 Flat or Round paintbrush | Any size you prefer | 1 brush | | 1 sheet of Medium Grit sandpaper | Standard type | 1 sheet | | 1 square of Cotton or Felt fabric for ears | Choose your favorite fabric | 1 square | | 1 sharp pair of scissors | Good quality | 1 pair | | 1 bottle of Fabric glue | Non-toxic | 1 bottle |
Remember, if you don’t have fabric glue, a hot glue gun can also do the trick!
Sizing Guide
For this particular project, size isn’t a variable, as we typically focus on a standard size that fits comfortably as a decorative piece. Just ensure that the wood board isn’t more than a couple of inches in thickness for easy cutting and crafting.
Step-by-Step: How to Create the Rustic Farmhouse Bunny
Crafting doesn’t need to feel overwhelming. With simple steps, we’re ready to embark on creating our delightful bunny.
Step 1: Cut the Wood into the Shape of a Bunny
- Sketch your bunny shape on the wood using a pencil.
- Use a saw to carefully cut the shape out, adhering to your sketch.
- Remove any excess wood pieces for a cleaner outline.

Step 2: Sand the Edges to Smooth Out Any Rough Spots
- Take your sandpaper and gently sand down the edges of the cut wood to remove splinters.
- Ensure all corners are rounded and safe for handling.
- Wipe down the wood with a damp cloth to remove sawdust.
Step 3: Paint the Bunny in a Color of Your Choice
- Select your favorite color of non-toxic acrylic paint.
- Apply a base coat using a brush, ensuring even coverage.
- Let it dry as per the instructions on the paint label, usually around 1-2 hours.
- Add a second coat if desired for a richer color.
Step 4: Cut Fabric for the Ears and Glue It to the Bunny
- Choose a fabric that complements your painted bunny.
- Cut two equal pieces of fabric, each shaped like bunny ears.
- Apply a thin layer of fabric glue to the bottom of each ear.
- Attach the ears to the top of the bunny’s head, holding them in place briefly until set.
Step 5: Allow Everything to Dry Before Displaying
- Let the bunny sit for at least 2 hours to ensure everything adheres well.
- Find a charming spot on your mantel or coffee table to display your creation.
- Enjoy the beauty it brings to your home as a centerpiece or embellishment.
Tips for Clean, Even Crafting
- Maintain consistent pressure while applying paint for a smooth finish.
- Organize your workspace to minimize distractions and mess.
- Track your progress through each step to ensure nothing is missed.
- Have a damp cloth handy for quick clean-ups of paint spills.
Common Mistakes to Avoid
- Skipping the sanding step — rough edges can cause splinters.
- Not allowing enough drying time — rushed projects may not adhere properly.
- Choosing poor fabric for the ears — mismatched textures can look off.
- Overusing glue — too much can cause dripping and uneven finishes.
Frequently Asked Questions
What is the technique used in this project?
The technique involves woodworking and fabric crafting to create a rustic piece.
What material is best for the bunny?
Pine or cedar works wonderfully due to its beauty and workability.
Is this project difficult compared to standard crafts?
It’s quite approachable! Even beginners can enjoy the satisfying process.
How much paint or fabric do I need?
A small bottle of paint and a single square of fabric are typically more than enough.
Can this technique apply to other patterns?
Absolutely! The method can be adapted for various decorative items.
Conclusion
The Creating a Rustic Farmhouse Bunny is not merely a craft; it’s a way to infuse warmth and personality into your home. The combination of wood and fabric transforms an ordinary decoration into a unique piece of art that tells a story. I encourage you to dive into this project with joy! Once you finish your charming bunny, don’t forget to share your crafting journey with the community. We would love to see your beautiful creations!