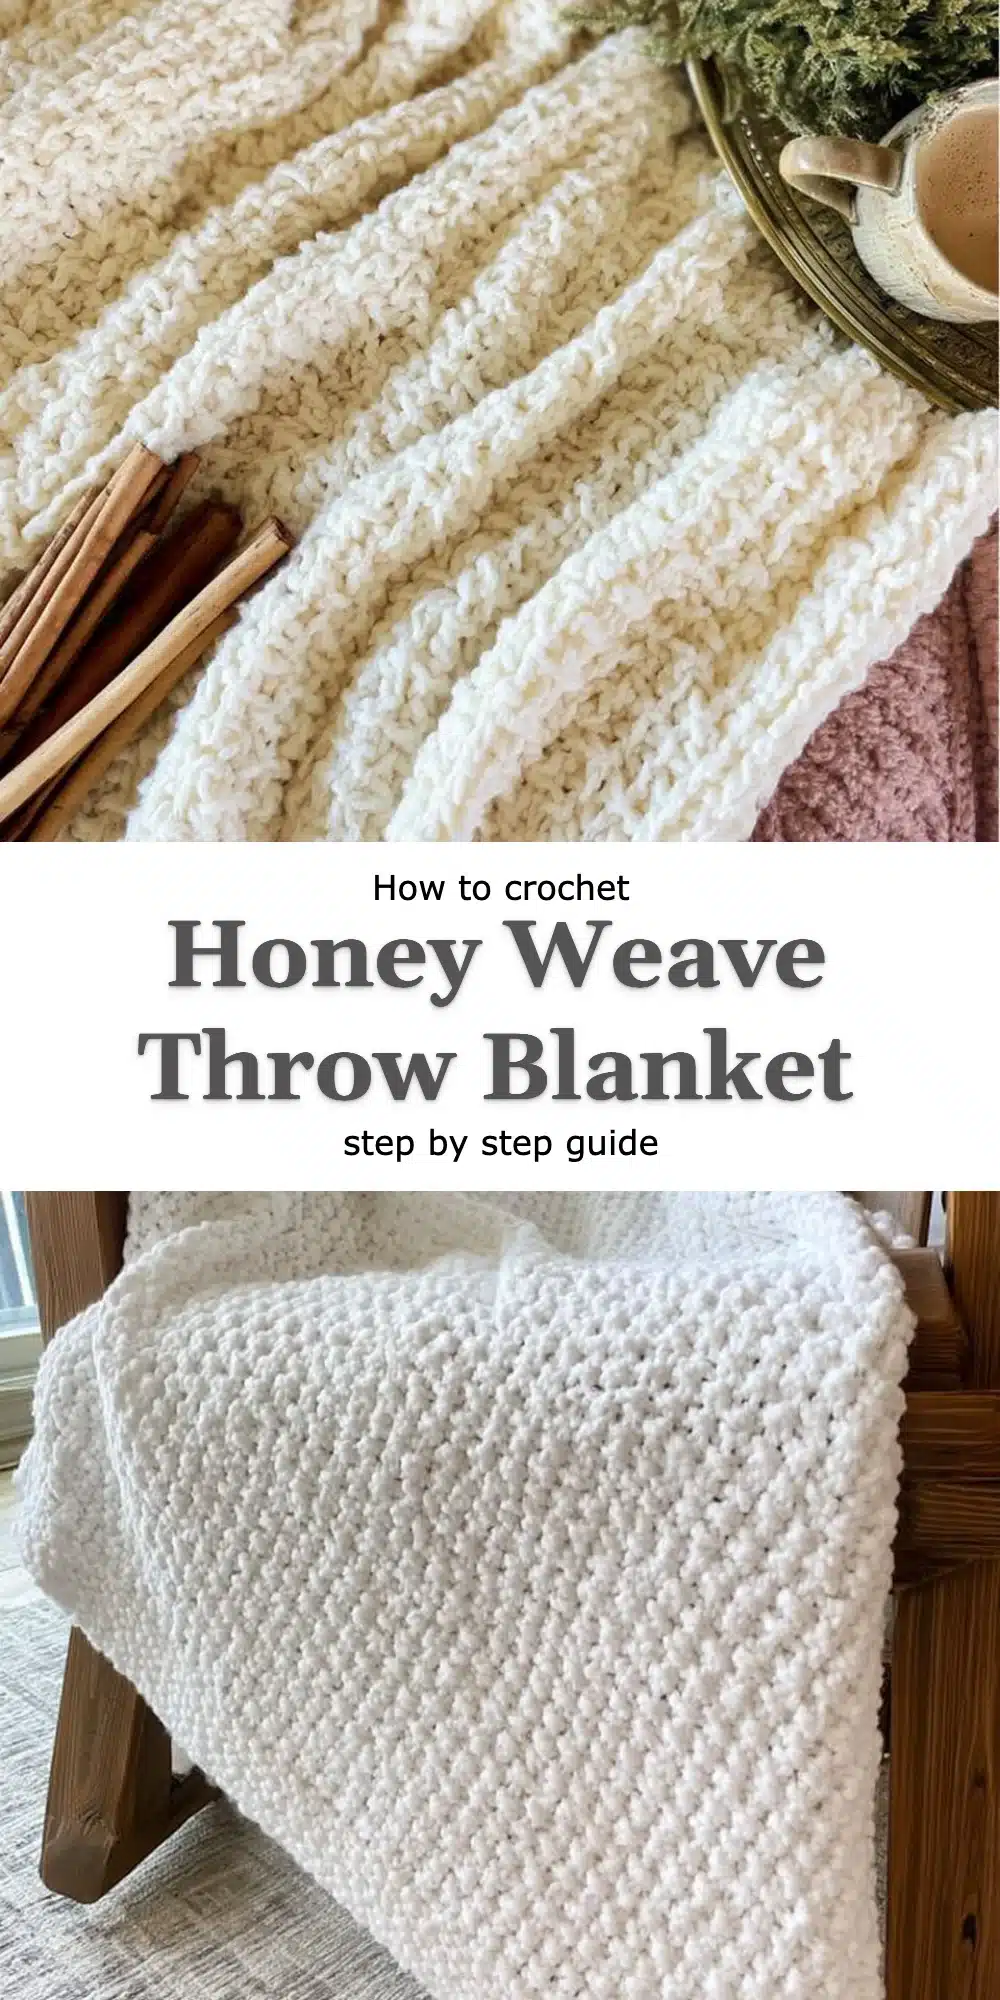
Honey Weave Throw Blanket
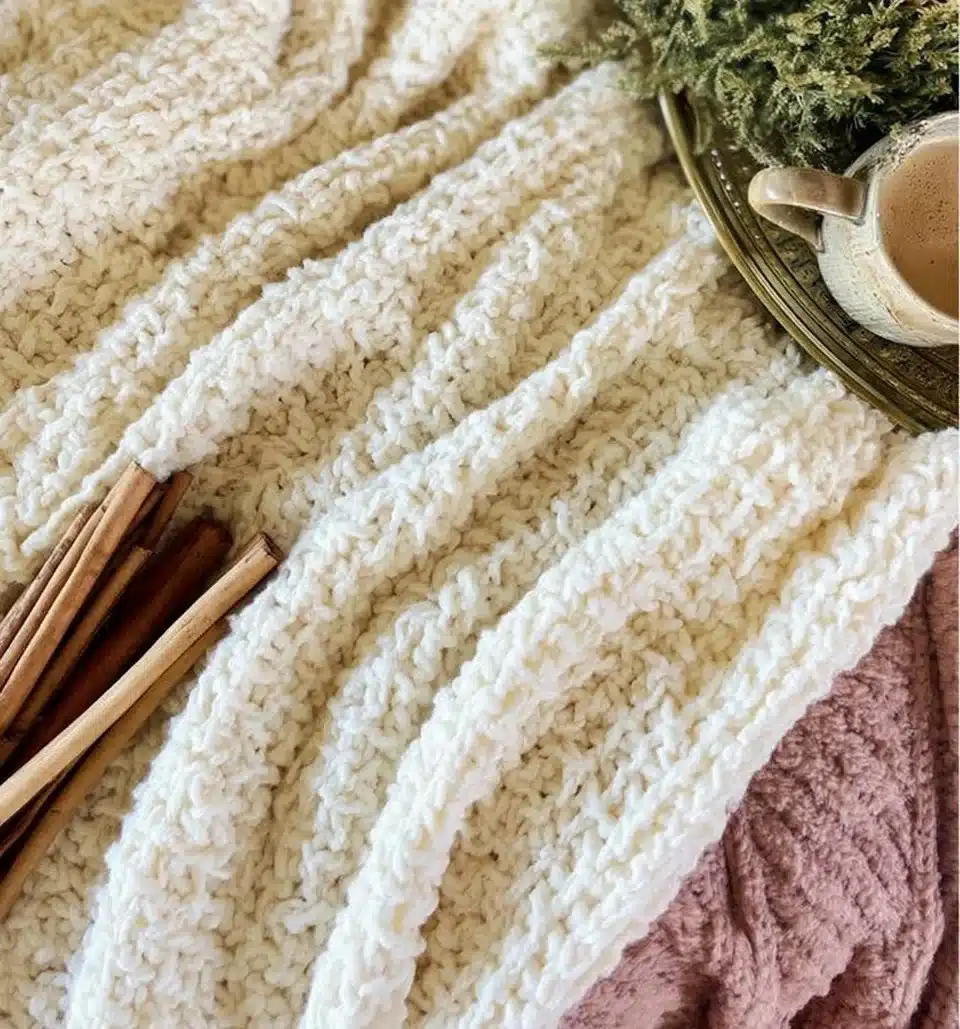
Creating a cozy atmosphere in my home is an absolute passion of mine, and I believe nothing can encapsulate warmth quite like a hand-crafted blanket. The Honey Weave Throw Blanket is a delightful combination of texture and comfort, offering a beautifully intricate woven pattern that sets it apart from standard throw blankets. This free pattern I’m about to share walks you through each step, making it approachable even for those who are new to crocheting.
As I prepared to share this crochet pattern, I couldn’t help but feel a sense of nostalgia wash over me. I still remember the first time I wrapped myself in a blanket I had made; there was an undeniable warmth that came not just from the yarn, but from the hours of love and effort poured into each stitch. This Honey Weave Throw Blanket will provide you not only with a beautiful finished product but also the joy of creation.
Why Honey Weave Feels Different
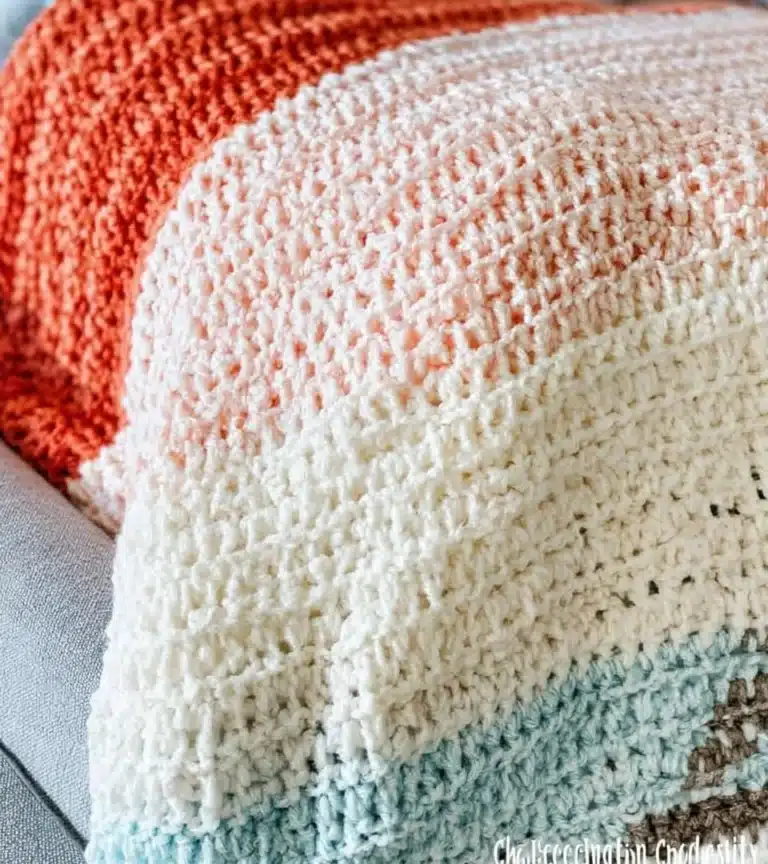
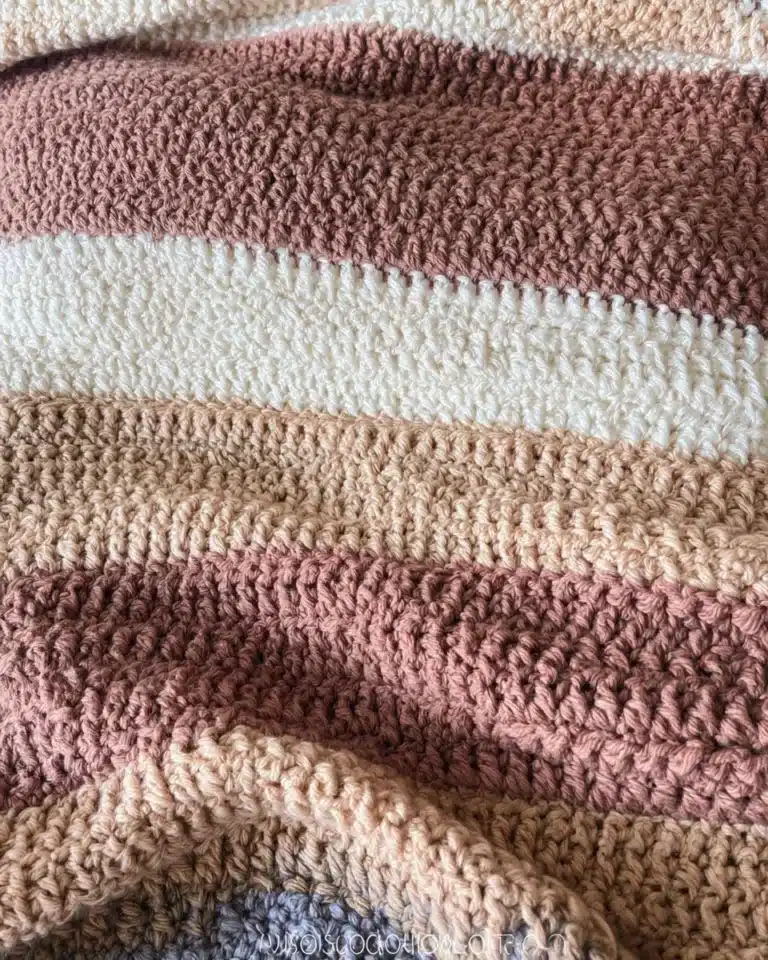
The beauty of the Honey Weave Throw Blanket lies in its unique technique, which creates a delightful texture that is more engaging than standard versions. The combination of double crochet stitches, intertwined to mimic the look of woven fabric, results in a warm, embraceable feel that simply wraps you in comfort.
What makes this variation worth trying:
- Enhanced Texture: The woven pattern offers dimension and depth, elevating the design.
- Increased Warmth: The density of the stitches creates a cozy, warm layer perfect for cooler days.
- Visual Interest: The honeycomb pattern adds an eye-catching element that complements any home decor.
- Versatile Use: This throw blanket is great for snuggling on the couch or draping over furniture as an accent piece.
What You’ll Need: Materials Table
Before diving into your crochet adventure, it’s essential to gather your materials. You’ll need a few items that will help bring your vision to life.
| Item | Recommended Type | Approximate Amount |
|——————————-|————————-|———————|
| Worsted Weight Yarn | 1000 yards | 1 |
| Crochet Hook | Size H (5.0 mm) | 1 |
| Sharp Scissors | Standard fabric scissors | 1 |
| Tapestry Yarn Needle | Standard tapestry needle | 1 |
Feel free to substitute yarn types; while I love using acrylic, wool can offer a different but equally beautiful texture!
Sizing Guide
If you’re looking to tailor your Honey Weave Throw Blanket size, it’s a very flexible pattern. Choose the dimensions that best suit your space or needs.
| Size | Approximate Dimensions |
|——–|——————————–|
| Small | 40" x 40" |
| Medium | 50" x 60" |
| Large | 60" x 80" |
Remember to create a gauge swatch to ensure your sizing aligns with the intended dimensions; this can greatly affect the final product!
Step-by-Step: How to Crochet the Honey Weave Throw Blanket
Creating your Honey Weave Throw Blanket is an enjoyable journey. Follow these steps, and you’ll see your blanket take shape beautifully.
Step 1: Start the Foundation
- Make a slip knot and place it onto your crochet hook.
- Chain the required number of stitches (multiple of 14 for the desired width).
- Chain an additional 3 stitches (this counts as your first double crochet).
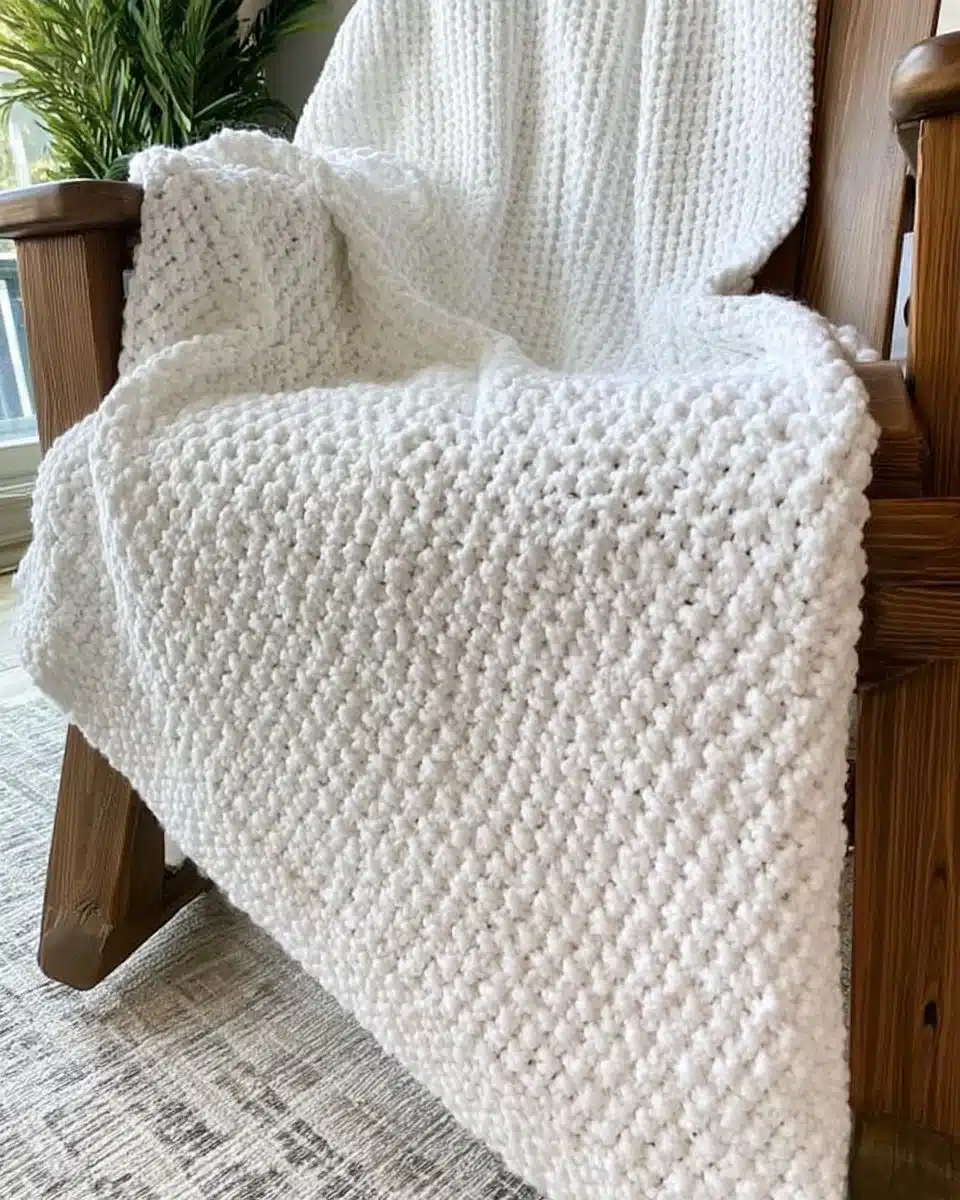
Step 2: Crochet the Core Technique Section
- Double crochet in the fourth chain from the hook.
- Continue to double crochet across your chain until you reach the end.
- Turn your work to start the next row.
- Chain 3 to begin the new row.
Step 3: Crochet the Shaping Section
- Work into each stitch with the double crochet stitch.
- Maintain the woven pattern established earlier as you proceed.
- Repeat the core section until the blanket reaches your desired size.
- Count each row to keep track.
- Remember to turn your work at the end of each row.
Step 4: Add the Finishing Touches
- Cut the yarn when you’ve reached the desired length, leaving a tail.
- Secure the end with your yarn needle.
- Weave in any loose ends to complete your Honey Weave Throw Blanket.
Tips for Clean, Even Honey Weave
- Practice consistency by maintaining even tension throughout your stitches.
- Keep track of your rows to ensure the blanket stays uniform in height.
- Consider making a swatch before starting to identify your tension.
- Align stitches carefully for a seamless appearance in the woven pattern.
Common Mistakes to Avoid
- Crocheting too tightly — results in a stiff blanket that lacks drape.
- Skipping rows — leads to uneven dimensions and an unbalanced look.
- Forgetting to turn your work — which disrupts the pattern flow.
- Neglecting to weave in ends — can cause unraveling and messy appearances.
Frequently Asked Questions
What is the Honey Weave technique?
The Honey Weave technique uses double crochet stitches in a specific pattern to create a textured, woven look reminiscent of honeycomb.
What type of yarn should I use?
Worsted weight yarn is recommended, either acrylic or wool, depending on your preference for texture and warmth.
Is this technique easier than standard patterns?
Absolutely! The Honey Weave pattern may look intricate but is surprisingly simple, making it accessible for anyone, including beginners.
How much yarn will I need?
For a standard throw blanket, approximately 1000 yards of worsted weight yarn should suffice, but always check your gauge.
Can I apply this technique to other patterns?
Yes! The Honey Weave pattern can be adapted for various projects like scarves, shawls, and even pillows.
Conclusion
Creating the Honey Weave Throw Blanket is a rewarding experience that will leave you with a beautiful, functional piece of art. It’s more than just a blanket; it represents hours of dedication and passion. I encourage you to give this pattern a try and immerse yourself in the art of crochet.
Once you’ve completed your Honey Weave Throw Blanket, please share your finished pieces with the community! Every stitch tells a story, and I’d love to see what you create.