Alpine Stitch Blanket
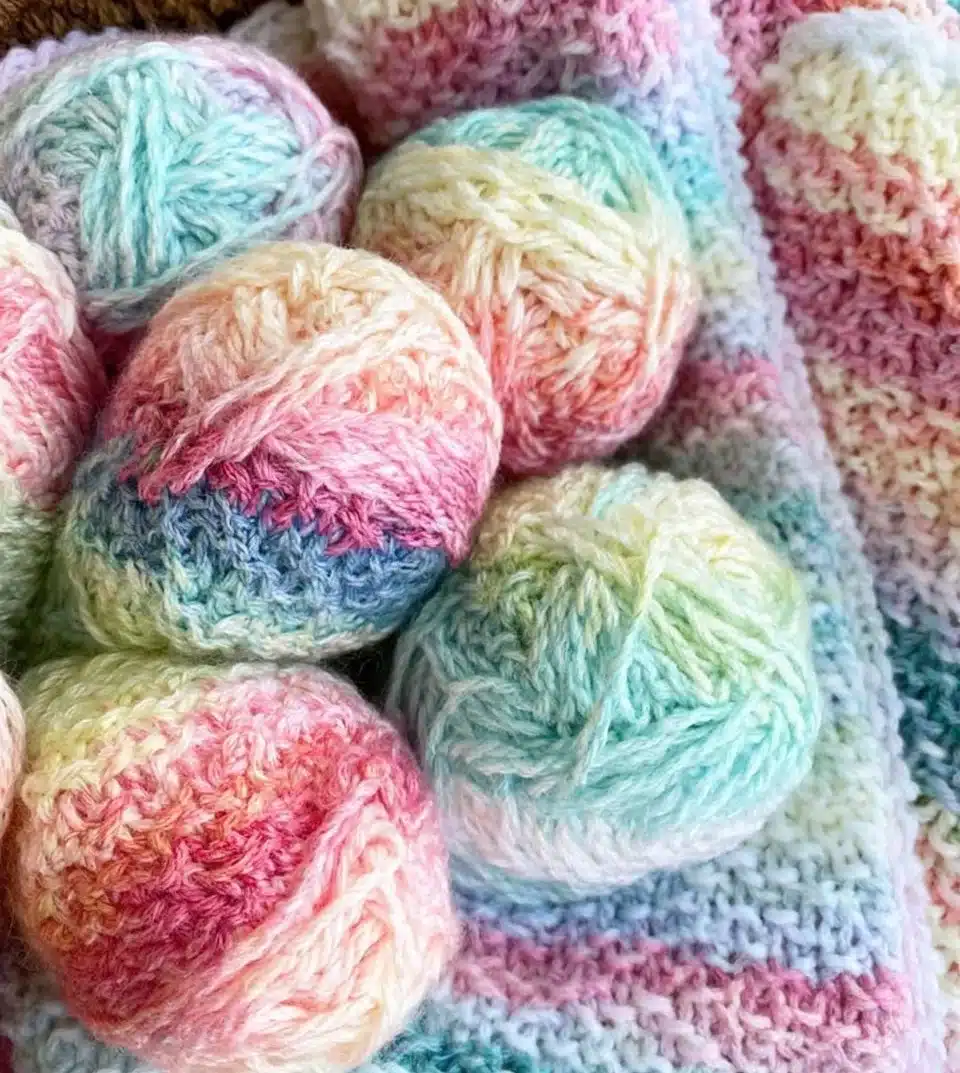
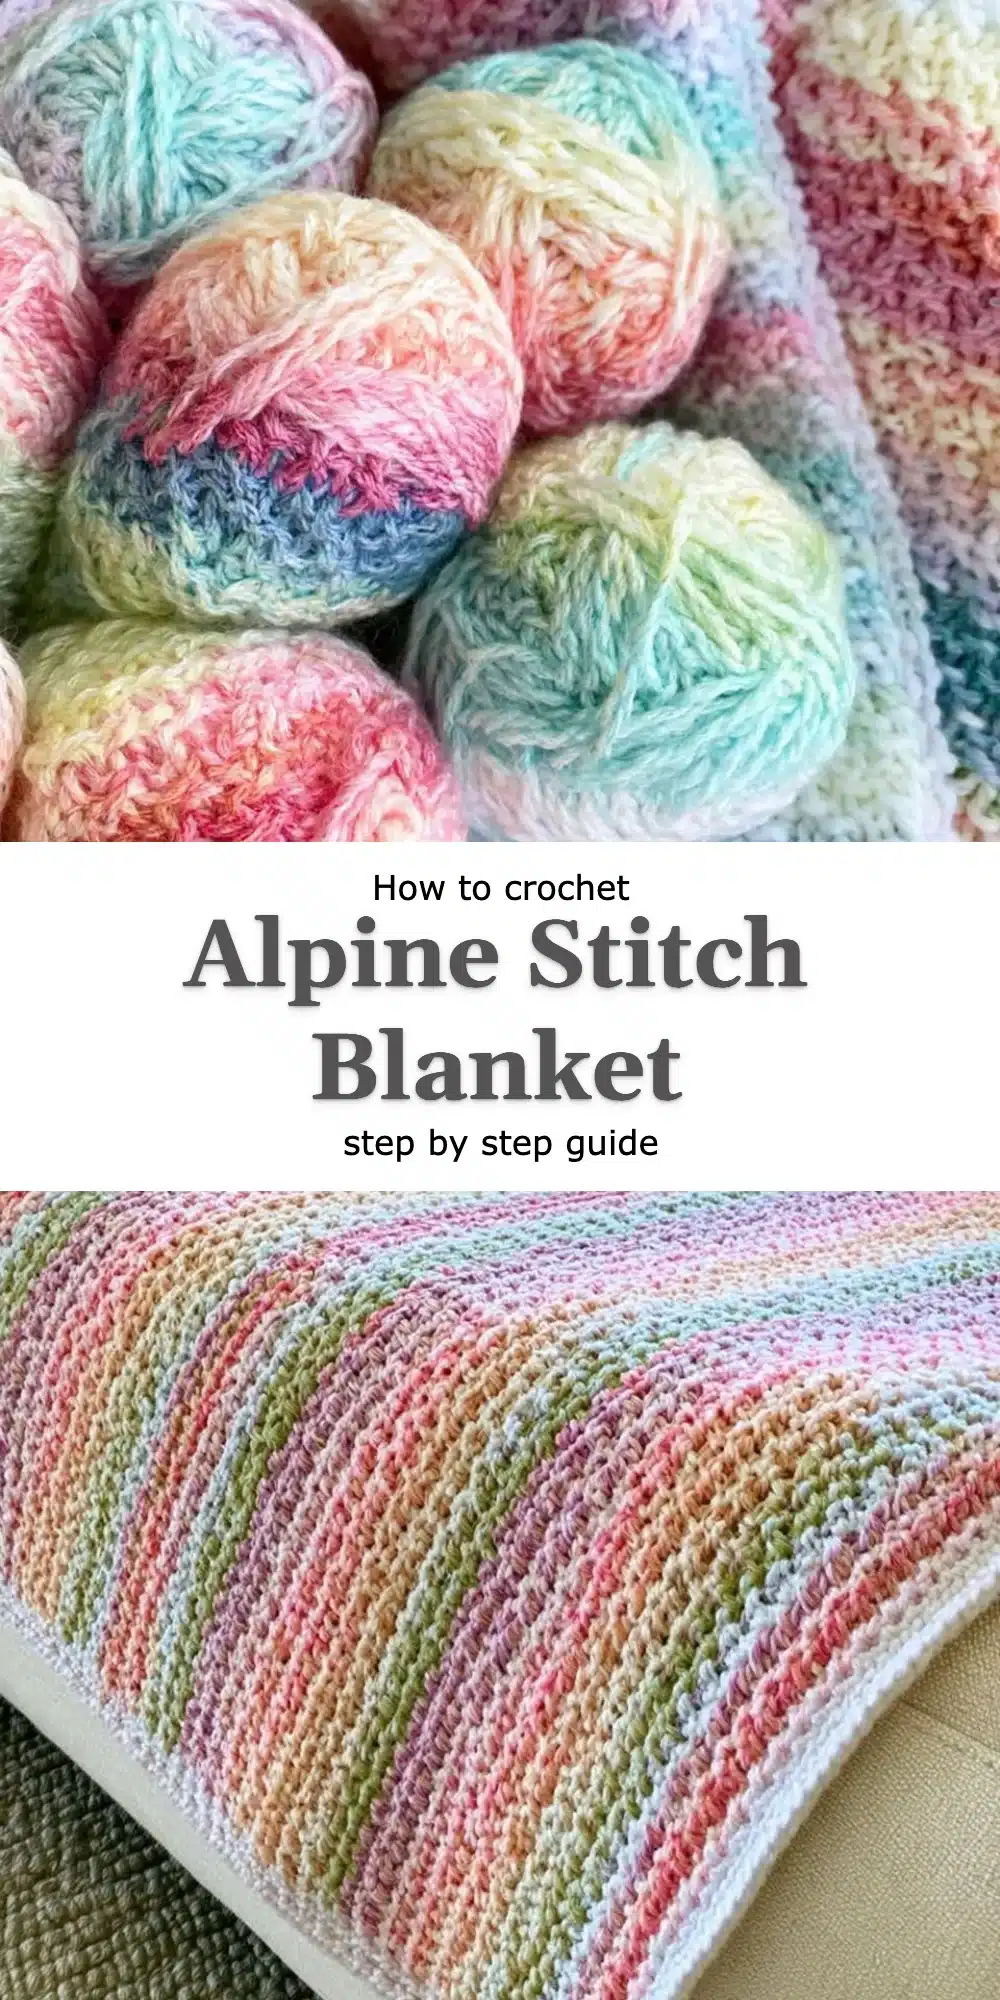
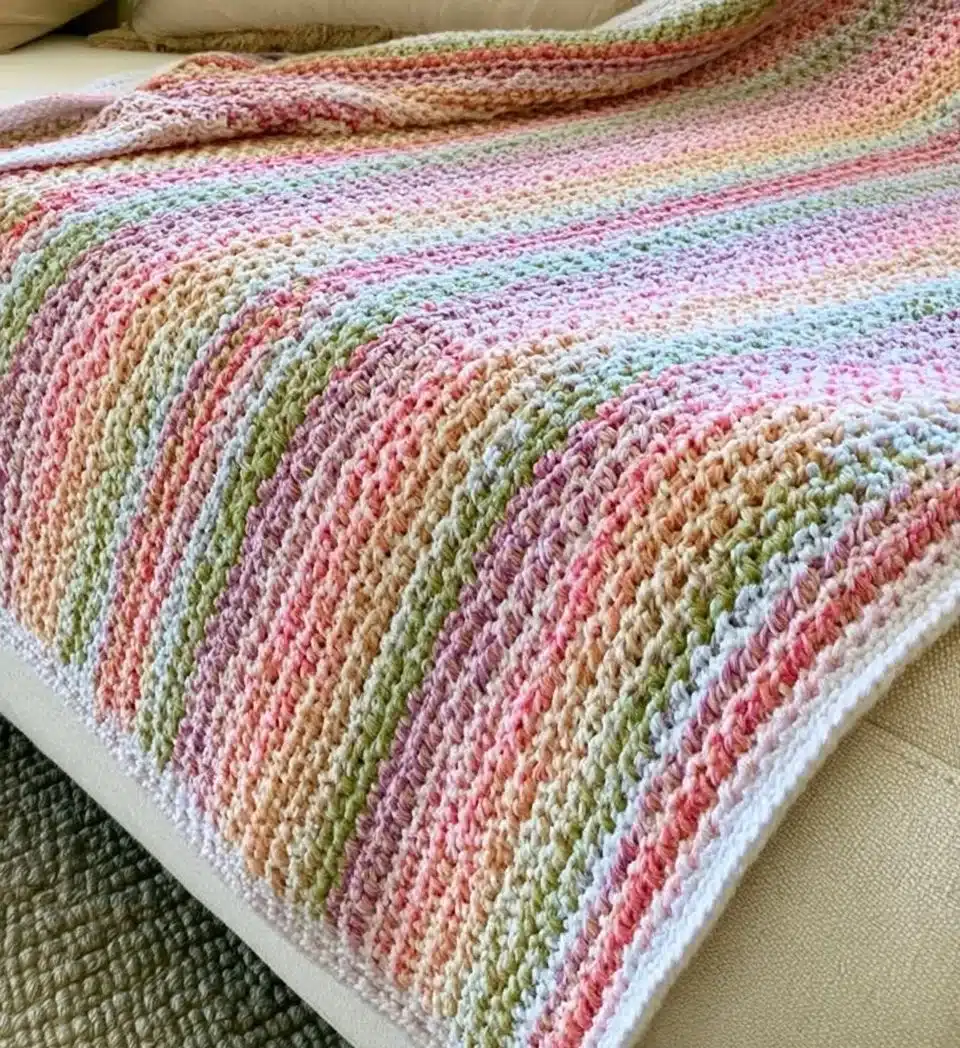
The Rainbow Peaks Alpine Stitch Blanket Pattern is a crochet design that breathes new life into the traditional blanket pattern. With its rhythmic texture and stunning visual appeal, it sets itself apart from basic crochet blankets. Each stitch tells a story of warmth and coziness, perfect for snuggling under on chilly evenings. In this free pattern, I will guide you every step of the way, making this technique approachable even for newcomers to the craft.
Crocheting the Rainbow Peaks Alpine Stitch Blanket not only elevates your skills but also results in a uniquely textured fabric that feels rich and inviting. I can almost feel the soft yarn slipping through my fingers as I navigate the beautiful rhythm of double crochets and alpine stitches, creating a vibrant tapestry that adds color to any room.
Why Rainbow Peaks Alpine Stitch Blanket Pattern Feels Different
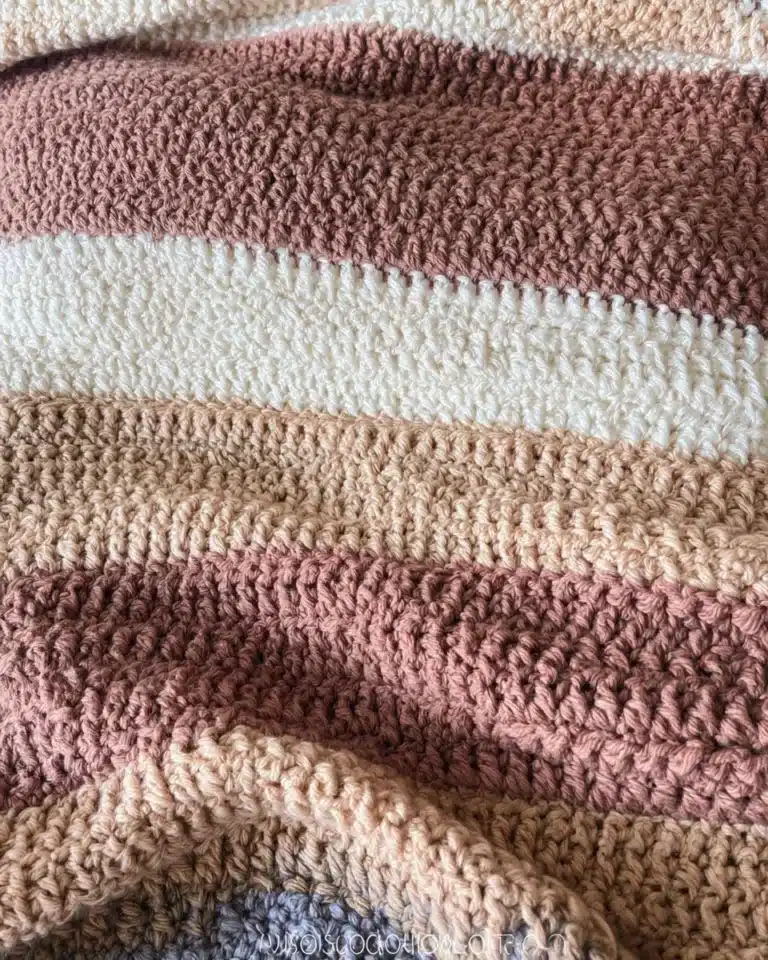
This variation infuses the beloved double crochet stitch with an alpine twist, creating a unique texture that stands out from the ordinary. The interplay of stitches gives your blanket a peak-like appearance, reminiscent of colorful mountain ranges kissed by the sun.
What makes this variation worth trying:
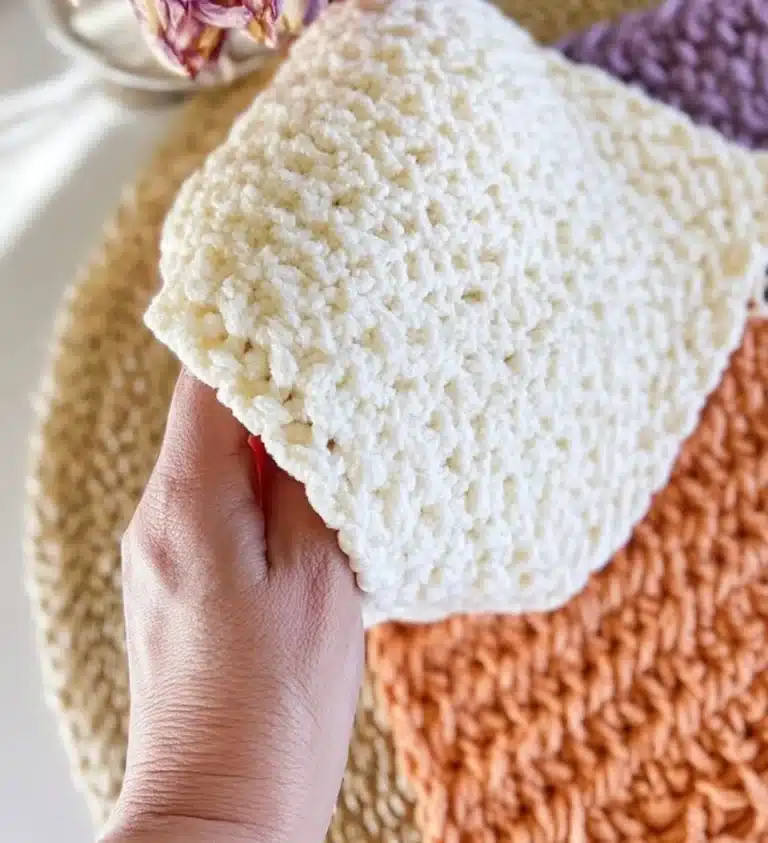
- Textured Look: The alpine stitches create a raised pattern that adds depth and richness.
- Warmth: The combination of stitches provides a thicker, cozier fabric perfect for chilly nights.
- Vibrant Colors: With the use of various yarn colors, the design becomes a canvas for creativity.
- Drapability: Despite its thickness, this stitch maintains a lovely drape, making it snuggly yet stylish.
What You’ll Need: Materials Table
Before diving into this vibrant creation, it’s essential to gather your materials. The right tools will make all the difference in your crochet journey.
| Item | Recommended Type | Approximate Amount |
|———————|——————————|———————|
| Worsted weight yarn | Acrylic, Wool, or Blends | 6 – 8 skeins |
| Crochet hook | Size H/8 (5mm) or I/9 (5.5mm)| 1 |
| Scissors | Sharp, small embroidery scissors | 1 |
| Yarn needle | Tapestry needle | 1 |
Feel free to substitute materials based on your budget and comfort preferences; for instance, acrylic yarn is budget-friendly while wool provides an unparalleled warmth and luxury.
Sizing Guide
This blanket can be customized to fit your needs, whether it’s a throw for your couch or a cozy blanket for your bed.
| Size | Width | Length |
|————|——————|——————|
| Baby | 30 inches | 36 inches |
| Throw | 50 inches | 60 inches |
| Twin | 66 inches | 90 inches |
| Full/Queen | 90 inches | 100 inches |
| King | 108 inches | 100 inches |
To ensure that your blanket maintains its intended size, I recommend creating a gauge swatch. This will help you determine if your tension is correct and ensure all your stitches align beautifully.
Step-by-Step: How to Crochet the Rainbow Peaks Alpine Stitch Blanket Pattern
Step 1: Start the Base
- Create a slip knot.
- Chain the desired width of the blanket (multiples of 5 + 2).
- Turn your work to start the first row.
Step 2: Crochet the Core Technique Section
- Work the first row using double crochet to establish your base.
- Yarn over, insert the hook into the designated stitch.
- Pull through the yarn.
- Yarn over again and pull through all three loops on the hook.
- Alternate between double crochet and alpine stitch for the remaining rows.
Step 3: Crochet the Shaping/Assembly Section
- Continue working in the established pattern until the blanket reaches your desired length.
- Count stitches regularly to keep symmetry throughout the piece.
Step 4: Add the Finishing Touches
- Fasten off the blanket when you reach your desired length.
- Trim the yarn, leaving a tail for weaving.
- Weave in all loose ends using a yarn needle.
- Optionally, add a colorful border around the edges for a polished finish.
Tips for Clean, Even Crochet
- Maintain Tension: Keep your stitches even by checking your grip on the yarn regularly.
- Use Stitch Markers: Track your stitches in complex rows to prevent mistakes.
- Practice Swatching: Before starting your blanket, practice a few rows using the alpine stitch to enhance your confidence.
- Align Stitches: Always double-check that your stitches are stacking neatly to avoid a bumpy appearance.
Common Mistakes to Avoid
- Skipping Stitches — results in holes and unevenness in the pattern.
- Tension Variations — causes a warped or crooked blanket.
- Ignoring Gauge — leads to a blanket that is too large or too small.
- Forgetting to count rows — results in asymmetrical shapes and inconsistent patterns.
Frequently Asked Questions
What is the alpine stitch?
The alpine stitch is a unique crochet technique that provides a raised texture, appealing to both tactile and visual senses.
What yarn type should I use?
Worsted weight yarn is ideal for this pattern. Choose a soft acrylic or a natural fiber like wool for an extra touch of luxury.
Is this pattern more difficult than a standard blanket?
While the Rainbow Peaks Alpine Stitch Blanket incorporates a special stitch, my step-by-step instructions make it accessible for all skill levels.
How much yarn do I need?
Plan for approximately 6-8 skeins, depending on the blanket’s size and color changes you opt for.
Can I use the alpine stitch in other projects?
Absolutely! The alpine stitch can be adapted to other crochet patterns such as scarves, pillows, or even hats.
Conclusion
The Rainbow Peaks Alpine Stitch Blanket Pattern truly stands out as a labor of love, a soothing journey of creativity that results in a beautiful piece meant for generations. Each stitch represents warmth and care, making it the perfect blanket to wrap around yourself or a loved one. I invite you to start this project and share your completed masterpiece with the crochet community; let’s inspire each other to create warmth through beautiful yarn and intricate designs.