Crochet Nesting Basket
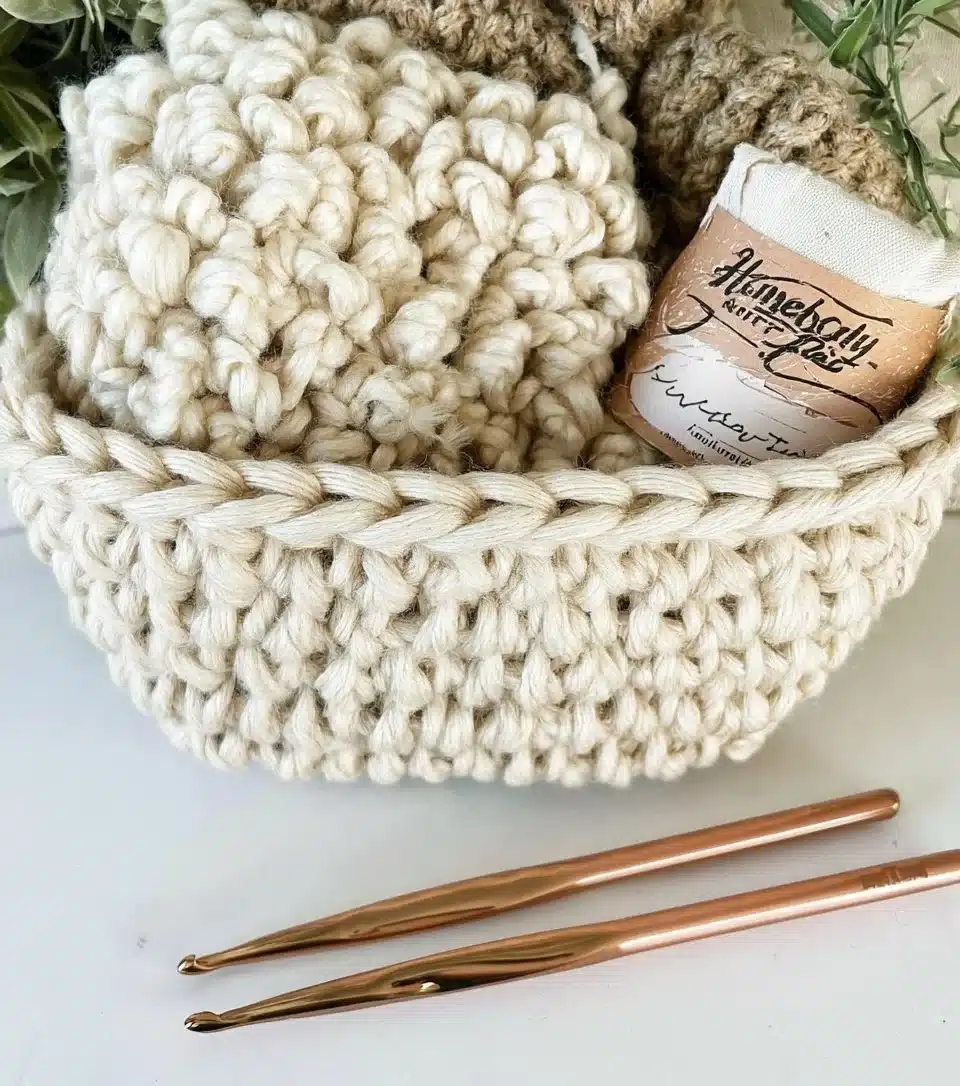
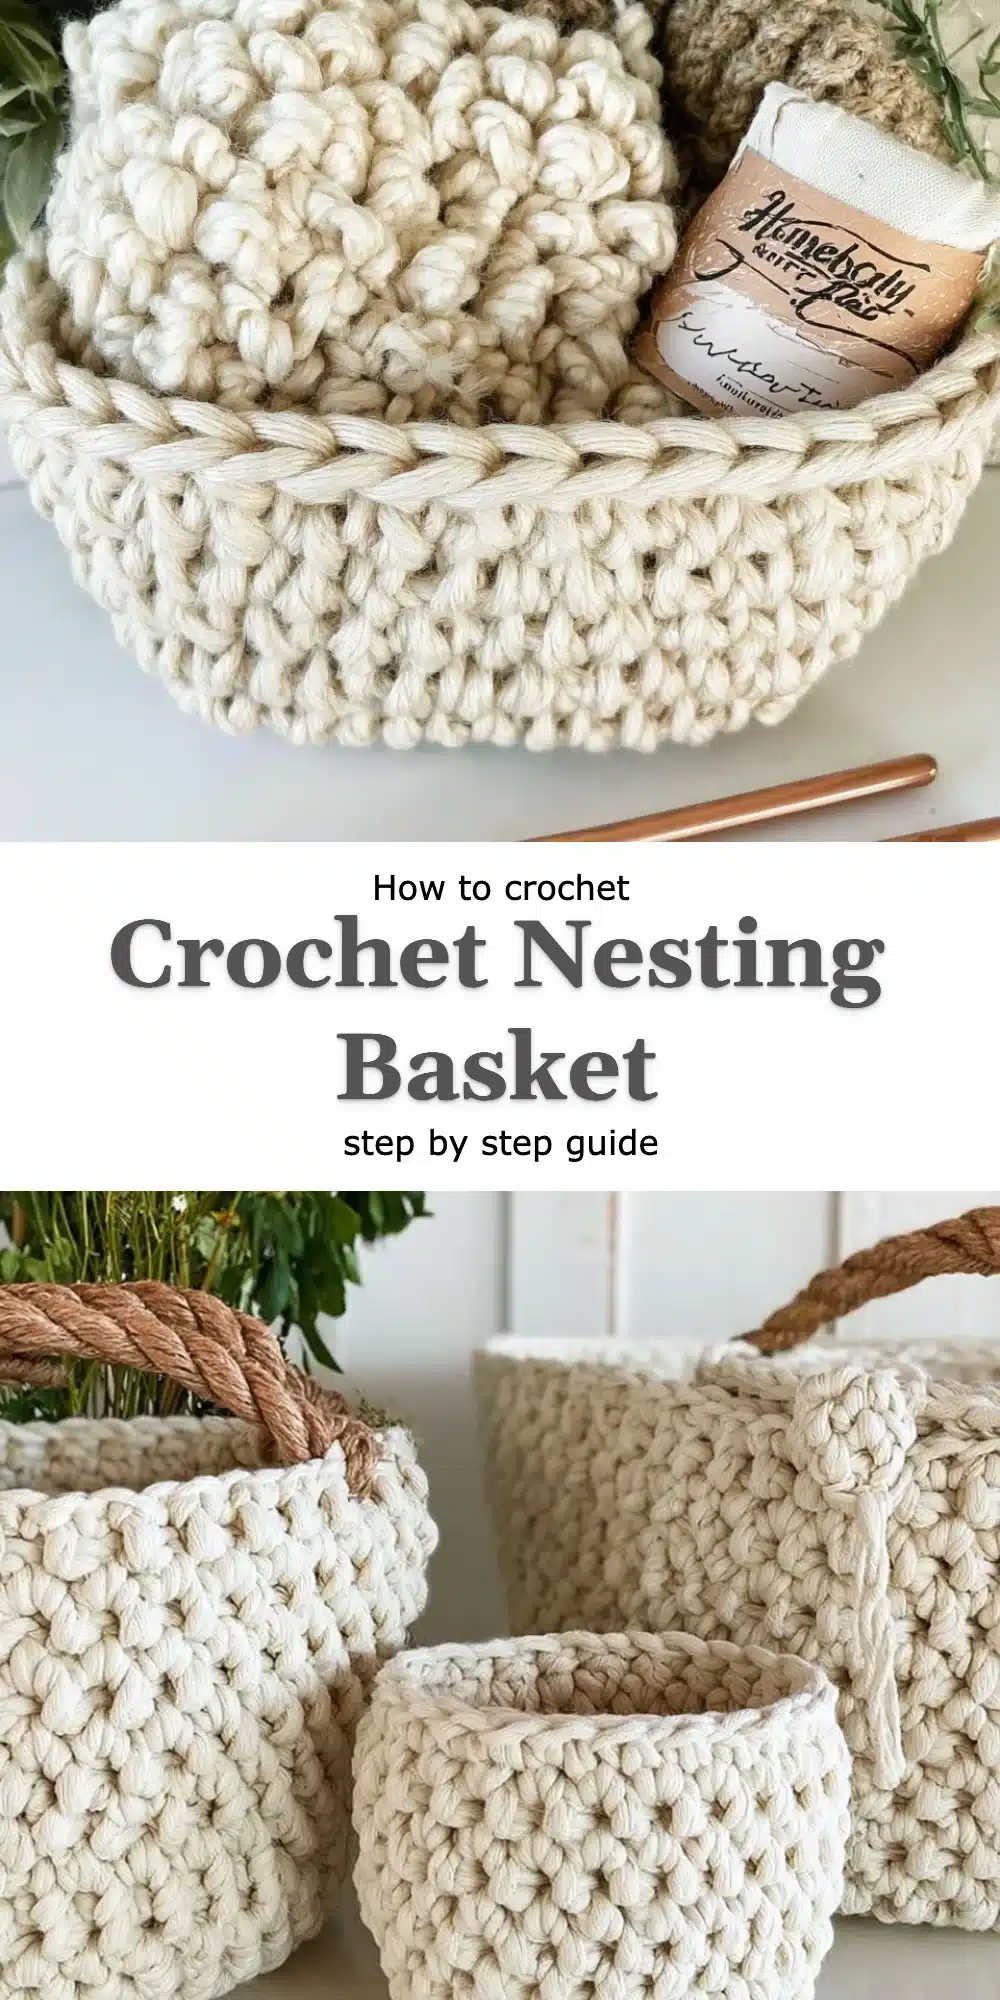
In a world bustling with endless tasks and a to-do list that never seems to shrink, I find beauty in the simple act of crafting. The Homebody Crochet Nesting Basket Pattern is more than just a functional item—it’s a symbol of comfort, creativity, and the cozy spaces we cherish. With its unique construction and charming alpine stitch details, this basket stands apart from your standard crochet baskets, bringing warmth and texture that elevates any room.
This free pattern guides you through each step, making it accessible even for beginner crocheters. Whether you’re venturing into the world of yarn for the first time or are a seasoned pro, you’ll find joy in creating your very own nesting basket.
Why Homebody Crochet Nesting Basket Feels Different
The Homebody Crochet Nesting Basket Pattern features a delightful twist: the alpine stitch, which adds dimension, texture, and character beyond the basic double crochet. This stitch creates a beautiful interplay of stitches that feels inviting and comforting—much like a warm hug from your favorite blanket.
What makes this variation worth trying:
- Enhanced Texture: The alpine stitch brings a unique, tactile quality that standard baskets often lack.
- Crafty Charm: Each basket becomes a one-of-a-kind piece, perfect for personal use or as a thoughtful gift.
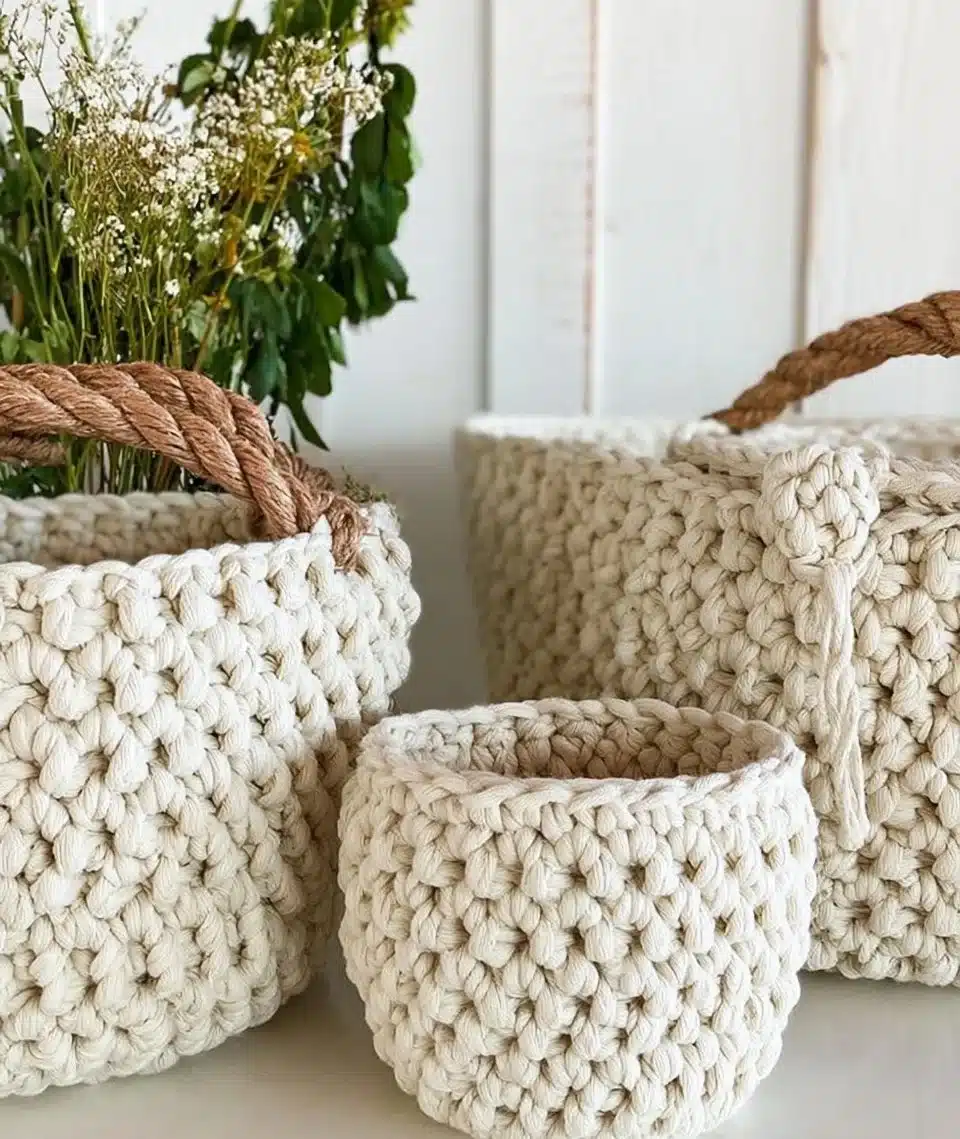
- Functional Decor: These baskets are not just pretty; they’re incredibly useful for organizing your yarn or other treasures.
- Customizable Size: Tailor your basket’s size to fit your needs, making it a versatile addition to any home.
What You’ll Need: Materials Table
Before we embark on our crafting journey, let’s gather our supplies to ensure a smooth crafting session. Here’s what you’ll need for the Homebody Crochet Nesting Basket Pattern:
| Item | Recommended Type | Approximate Amount |
|————————-|——————————|——————–|
| Yarn | Worsted weight, cotton blend | 200 – 300 yards |
| Crochet Hook | Size H-8, 5mm | 1 |
| Scissors | Standard fabric scissors | 1 |
| Measuring Tape | Flexible measuring tape | 1 |
| Tapestry needle | For weaving in ends | 1 |
You can experiment with different yarn types—wool or a blended option could yield varied textures and weights, making your basket uniquely yours.
Sizing Guide
Creating a beautiful crochet basket is about achieving the perfect fit for your space. Here’s a simple guide to choosing the right size for your Homebody Crochet Nesting Basket:
| Size | Diameter | Height |
|——————-|———-|———|
| Small | 8 inches | 6 inches|
| Medium | 10 inches| 8 inches|
| Large | 12 inches| 10 inches|
Remember to gauge your stitches; a simple swatch can help ensure your sizing is just right!
Step-by-Step: How to Crochet the Homebody Crochet Nesting Basket Pattern
Let’s dive into creating your Homebody Crochet Nesting Basket! Follow these steps carefully, and watch your basket come to life.
Step 1: Start the Foundation
- Create a slip knot with your yarn.
- Chain enough stitches to form the base of your basket—around 22 to 30 chains, depending on your desired size.
- Join the last chain to the first with a slip stitch to create a ring.
Step 2: Crochet the Core Technique Section
- Chain 2 for the first round.
- Double crochet in the same stitch.
- Yarn over and insert your hook into the next stitch, pull up a loop (you should have three loops on the hook).
- Yarn over and pull through the first two loops, then yarn over again and pull through the remaining two loops.
- Repeat for each stitch around and join with a slip stitch to the top of the first double crochet.
Step 3: Crochet the Shaping Section
- Chain 2 for the next round.
- Work the alpine stitch into each stitch around as you did in the previous round.
- Continue crocheting rounds until the desired height is achieved—typically between 6 to 10 inches.
Step 4: Add the Finishing Touches
- Finish off your project by weaving in any loose ends with a tapestry needle.
- Consider adding embellishments or handles to customize your basket further.
Tips for Clean, Even Crochet
- Maintain consistent tension: Keep your stitches uniform by holding the yarn at a comfortable tension.
- Track your stitches: Use stitch markers to help keep your rounds organized.
- Practice on swatches: Before starting, make small swatches to find your perfect tension.
- Align your stitches: Pay attention to how your stitches sit on your hook for evenness.
Common Mistakes to Avoid
- Skipping stitches — leads to holes and gaps in your fabric.
- Uneven tension — causes the basket to warp or buckle.
- Not counting rounds — may result in mismatched height in your basket.
- Forgoing a gauge swatch — risking the final size may not match your expectations.
Frequently Asked Questions
What is the alpine stitch?
The alpine stitch is a textured crochet stitch that combines double crochet and front post double crochet to create a unique, raised design.
Can I use different yarn types?
Absolutely! While cotton blends provide a lovely drape, experimenting with acrylic or wool can add different textures and warmth.
Is this pattern difficult?
The Homebody Crochet Nesting Basket Pattern is approachable for beginners—the step-by-step guide makes mastering new stitches enjoyable!
How much yarn do I need?
For a standard-sized basket (around 10 inches), you’ll need approximately 200 – 300 yards of worsted weight yarn.
Can I apply this technique to other patterns?
Yes! The alpine stitch can be adapted for various projects, including blankets, hats, or other home decor items.
Conclusion
The Homebody Crochet Nesting Basket Pattern is a delightful project that brings a touch of warmth into your home. Its unique texture and cozy appeal make it a perfect addition to any space, and with the ability to customize both size and yarn, it can truly be one of a kind. I hope you embrace this crafting adventure and share your finished pieces with our vibrant community of makers—let’s inspire each other to create beautiful things!